Introduction
Before starting any felt project, it is important to learn how to make a secure knot. This basic step ensures your thread stays in place and your stitches remain strong and neat.
In this guide, you will learn a simple and beginner-friendly method to make a knot for hand sewing felt projects.
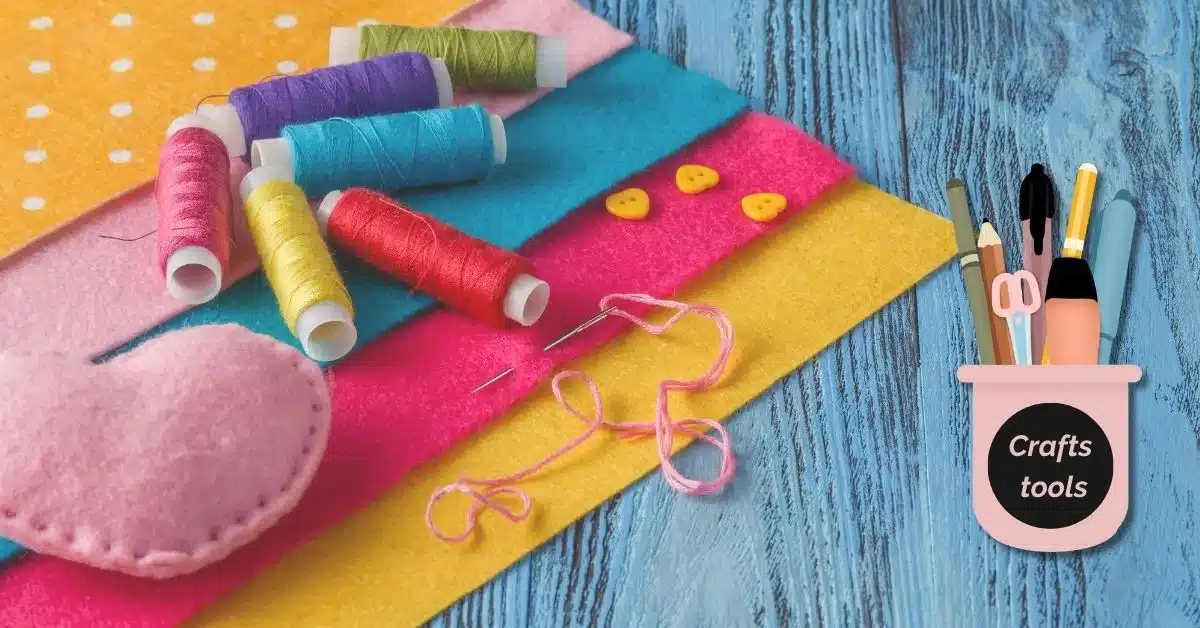
Materials Needed
- Needle
- Thread (embroidery or sewing thread)
- Felt fabric
Step-by-Step Guide
Step 1 – Cut your thread
Cut a piece of thread about 40–60 cm long. This length is perfect for beginners and easy to control.
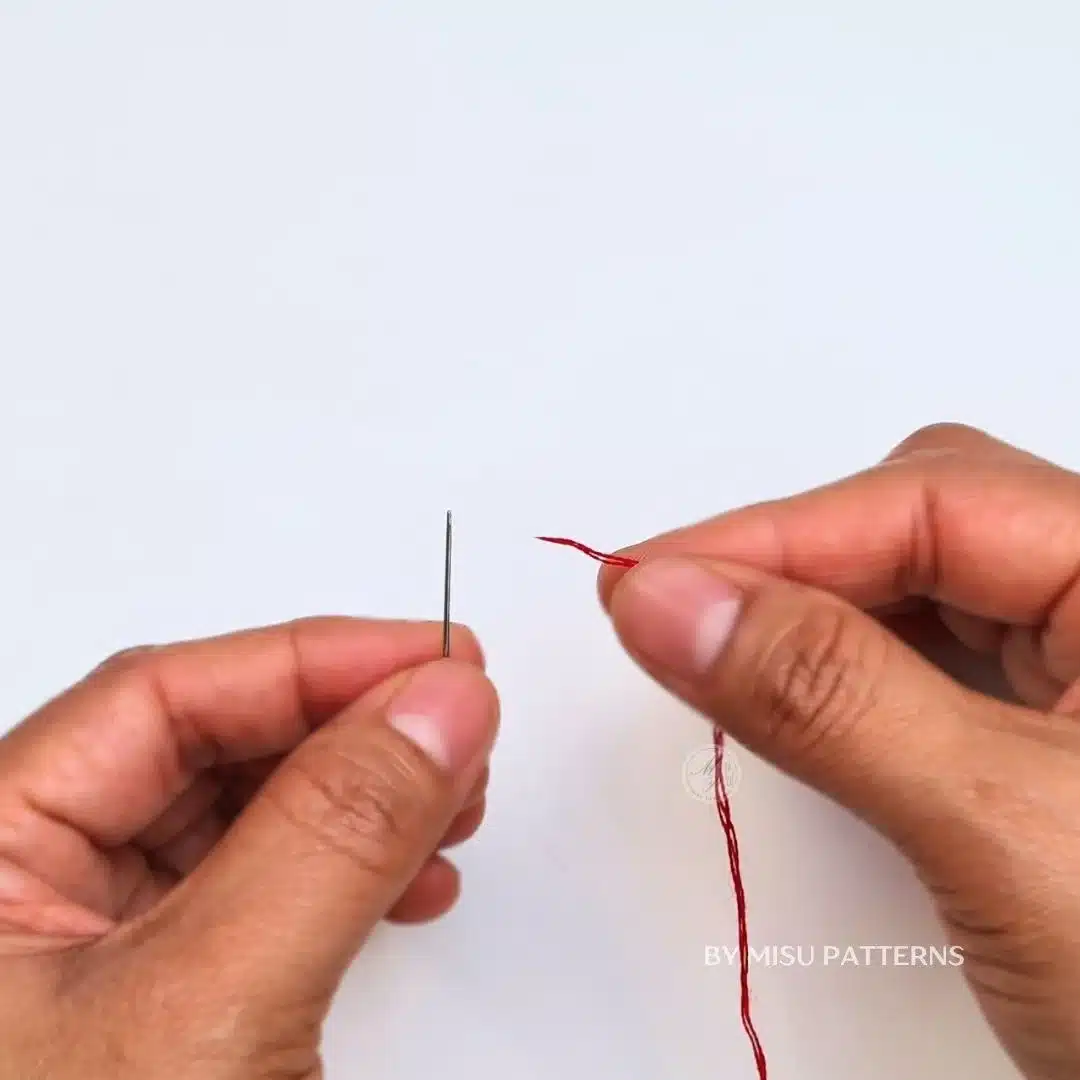
Step 2 – Thread the needle
Insert the thread through the eye of the needle and pull it until both ends are uneven.
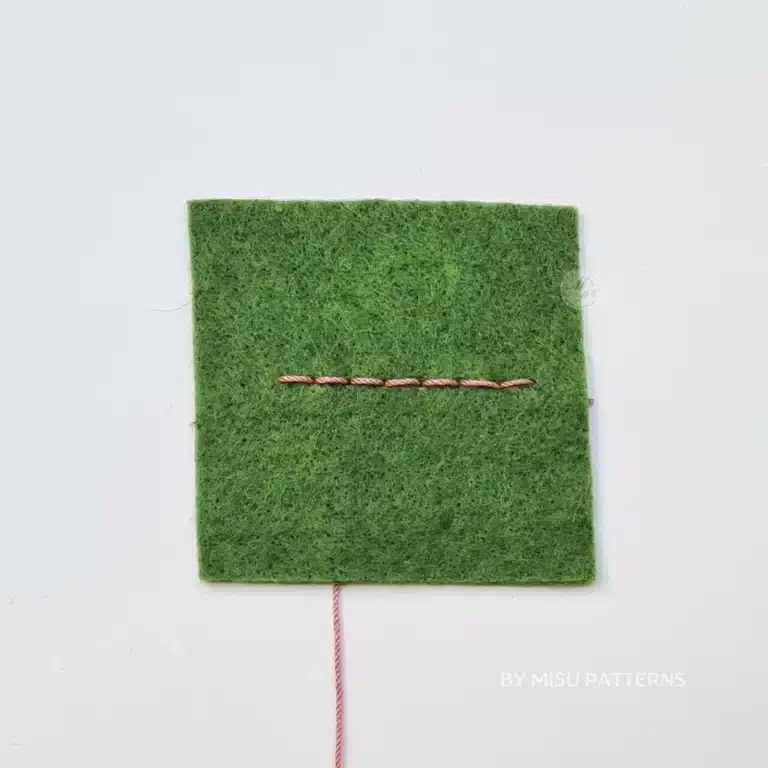
Step 3 – Hold the thread
Hold both ends of the thread together between your fingers.
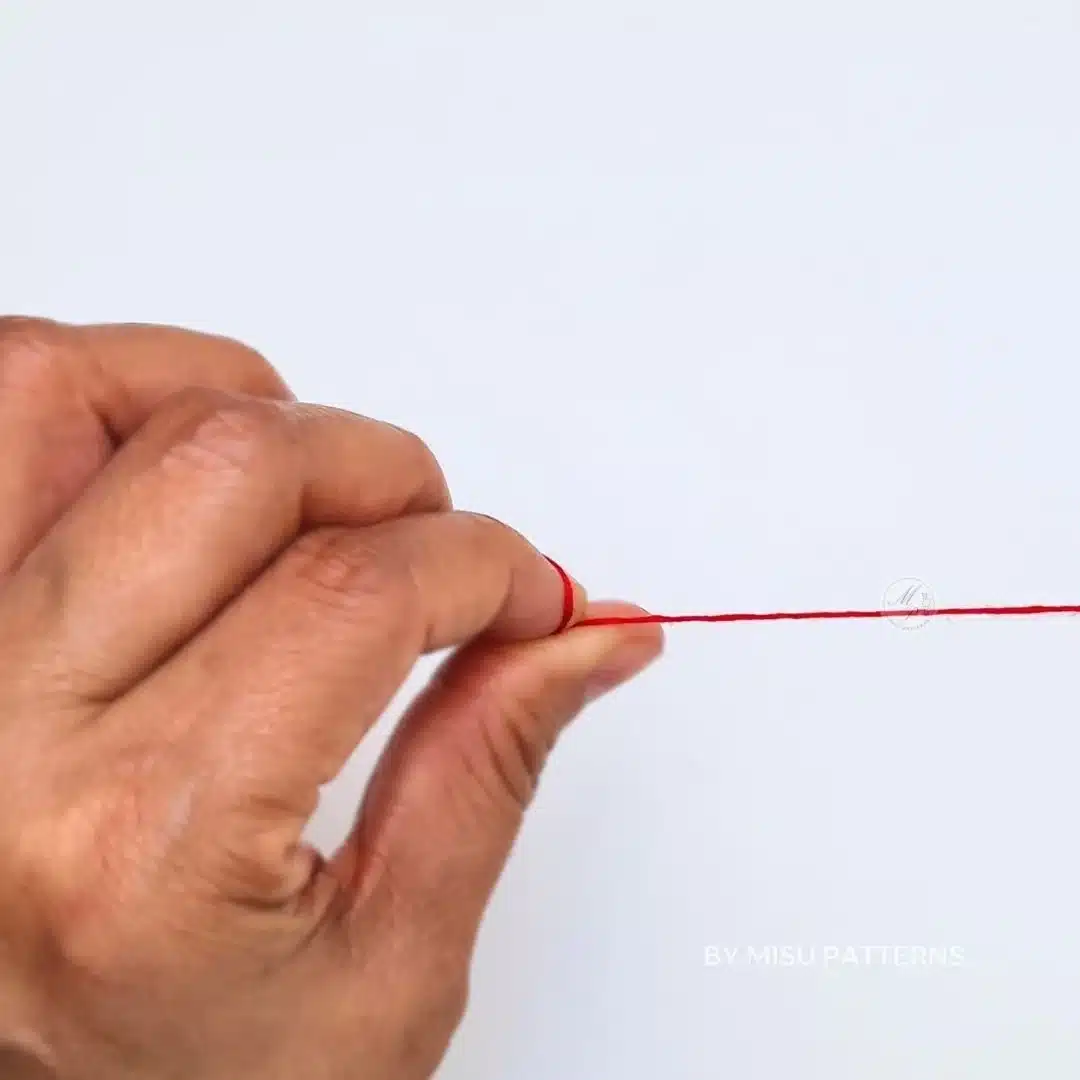
Step 4 – Wrap and roll
Wrap the thread around your finger once and gently roll it between your fingers.
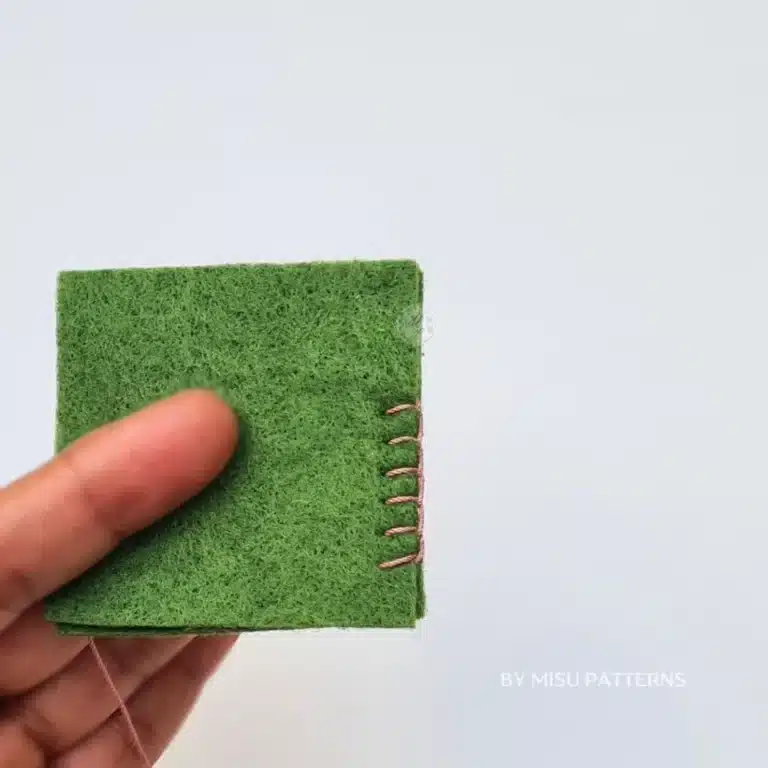
Step 5 – Form the knot
Pull the thread gently until a small knot forms at the end.
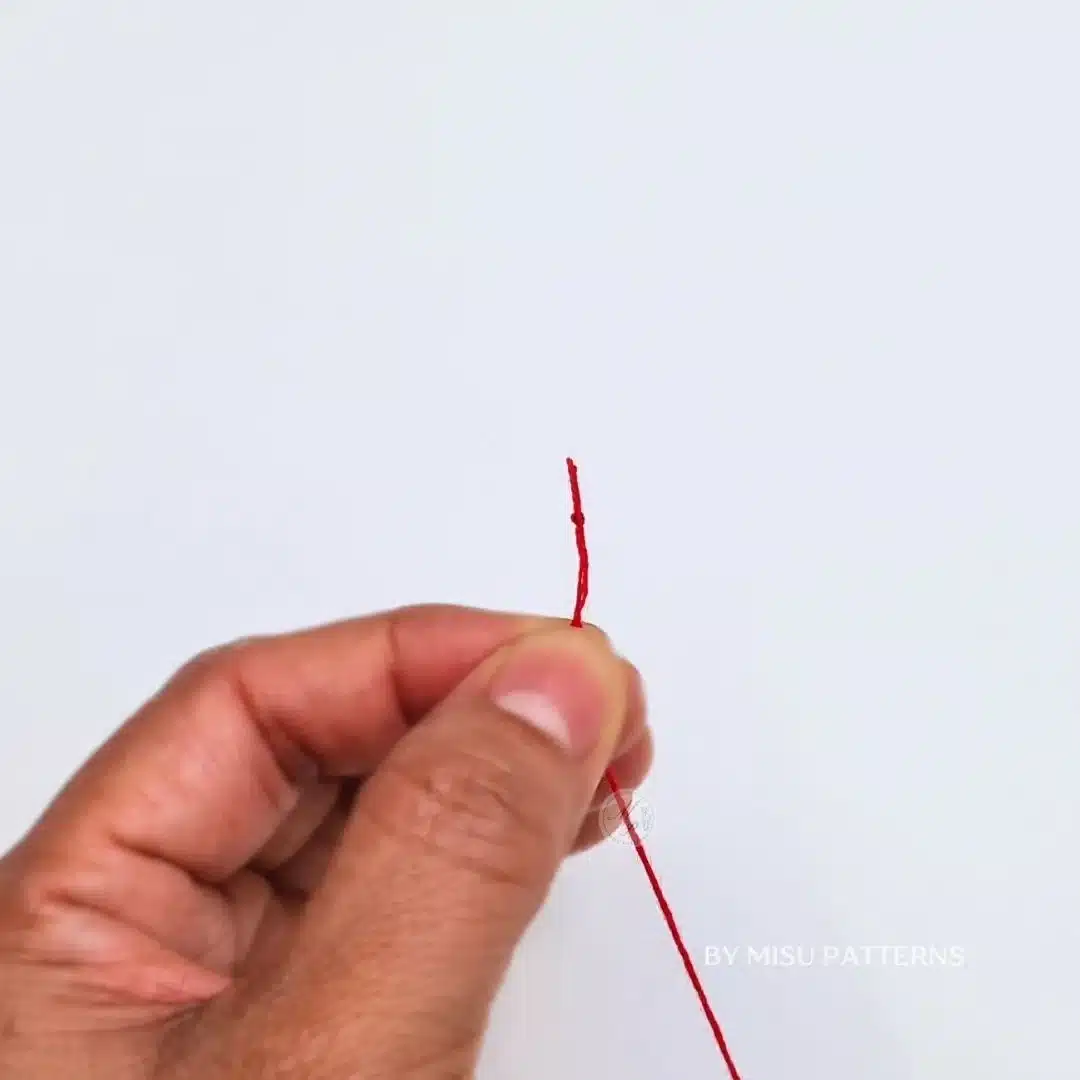
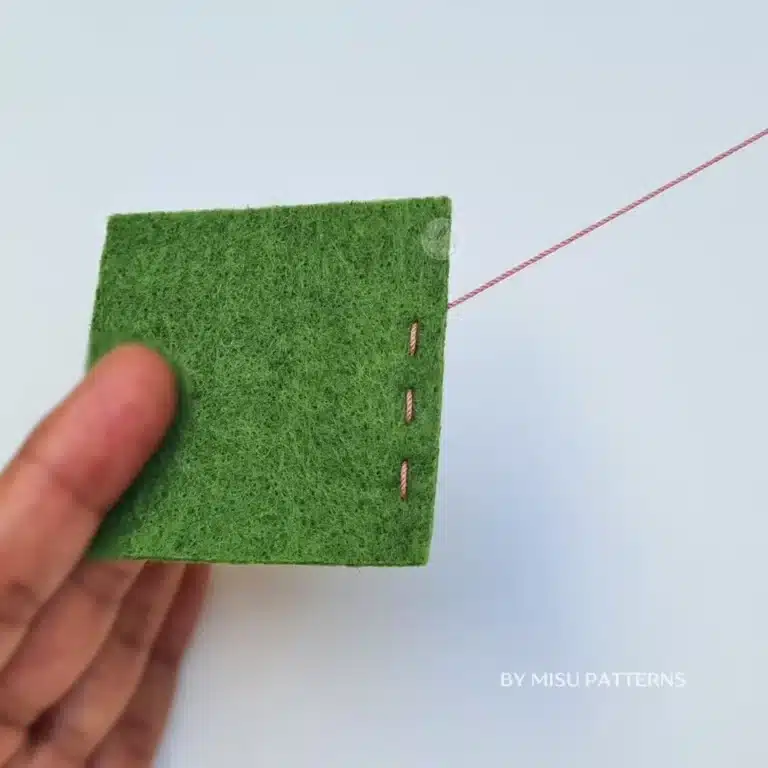
Step 6 – Tighten the knot
Pull carefully to make sure the knot is firm and will not pass through the fabric.

Tips:
- Practice a few times before starting your project
- Don’t make the knot too big
- Use thicker thread if you are a beginner
- Always check that the knot is secure before sewing
Conclusion
Now you know how to make a simple knot for your felt projects. This is the first essential step in hand sewing and will help you create strong and beautiful handmade crafts.