The blanket stitch is one of the easiest, most versatile, and beautiful hand-sewing techniques you can learn. Whether you want to finish the raw edges of a cozy blanket, decorate felt crafts, repair fabric, or add a charming handmade touch to your sewing projects, the blanket stitch is the perfect place to start.
In this tutorial, we will guide you through the entire process, step-by-step, making it incredibly simple to master even if you have never picked up a needle before. Grab your supplies, and let’s get stitching!
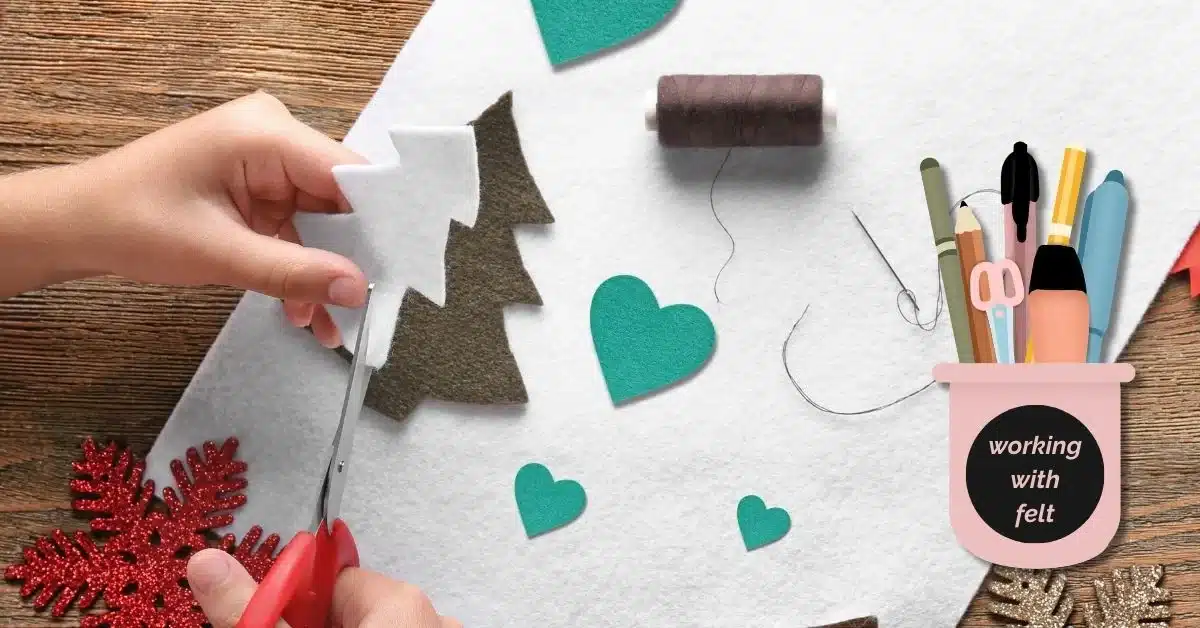
Supplies You Will Need
Before we begin, make sure you have the following materials ready:
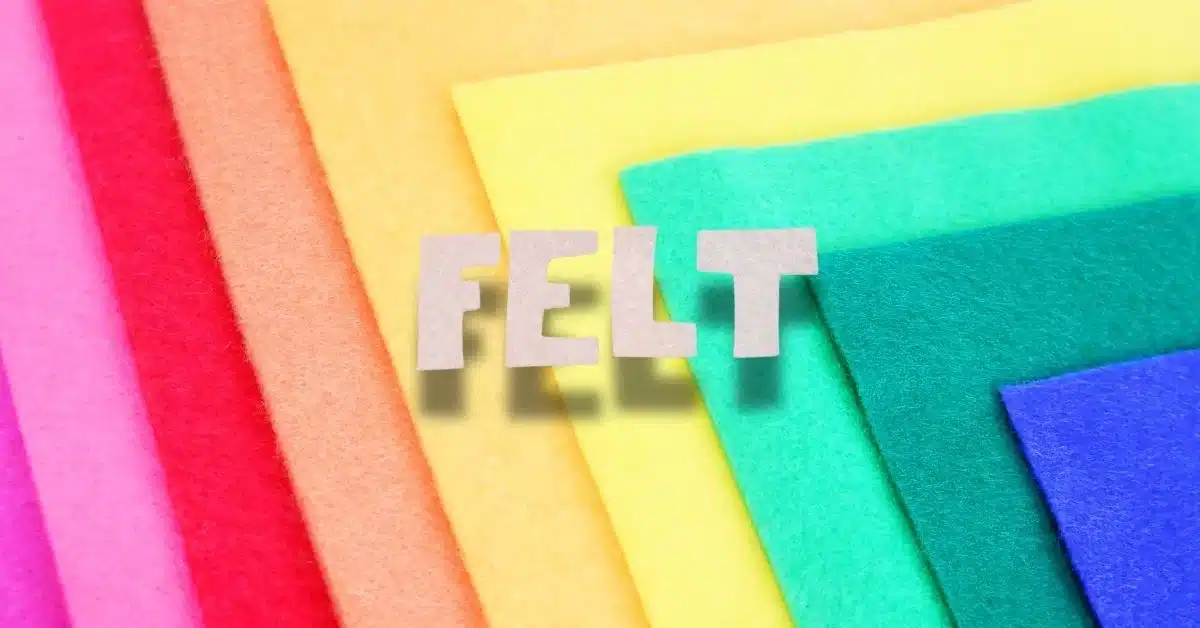
- Fabric: Felt or fleece are the best fabrics for beginners to practice on.
- Thread: Embroidery floss (perle or mouliné) works beautifully to showcase the stitch, or you can use regular sewing thread.
- Needle: A sewing needle with an eye large enough for your chosen thread.
- Scissors.
Step-by-Step Guide: How to Do a Blanket Stitch
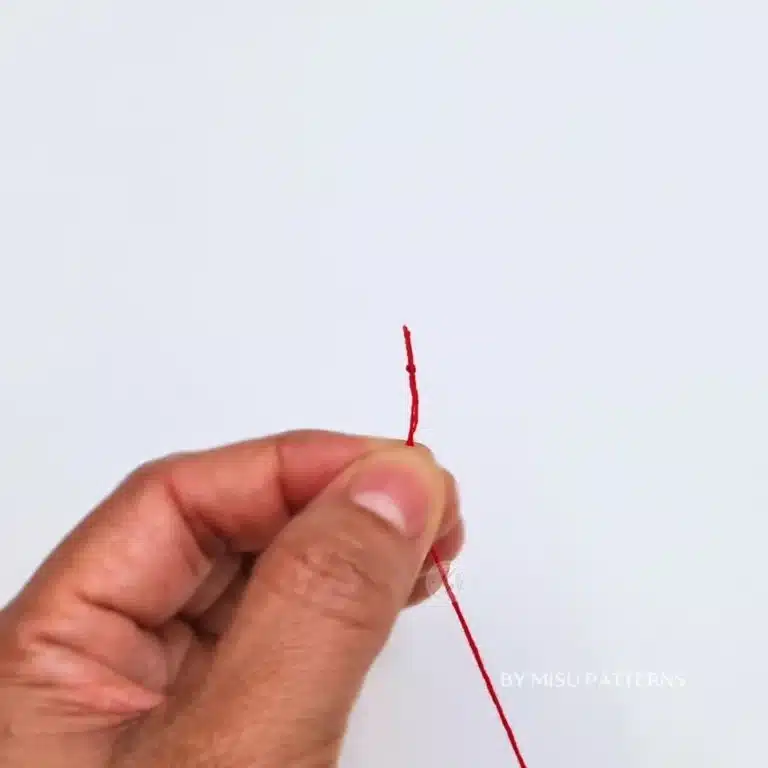
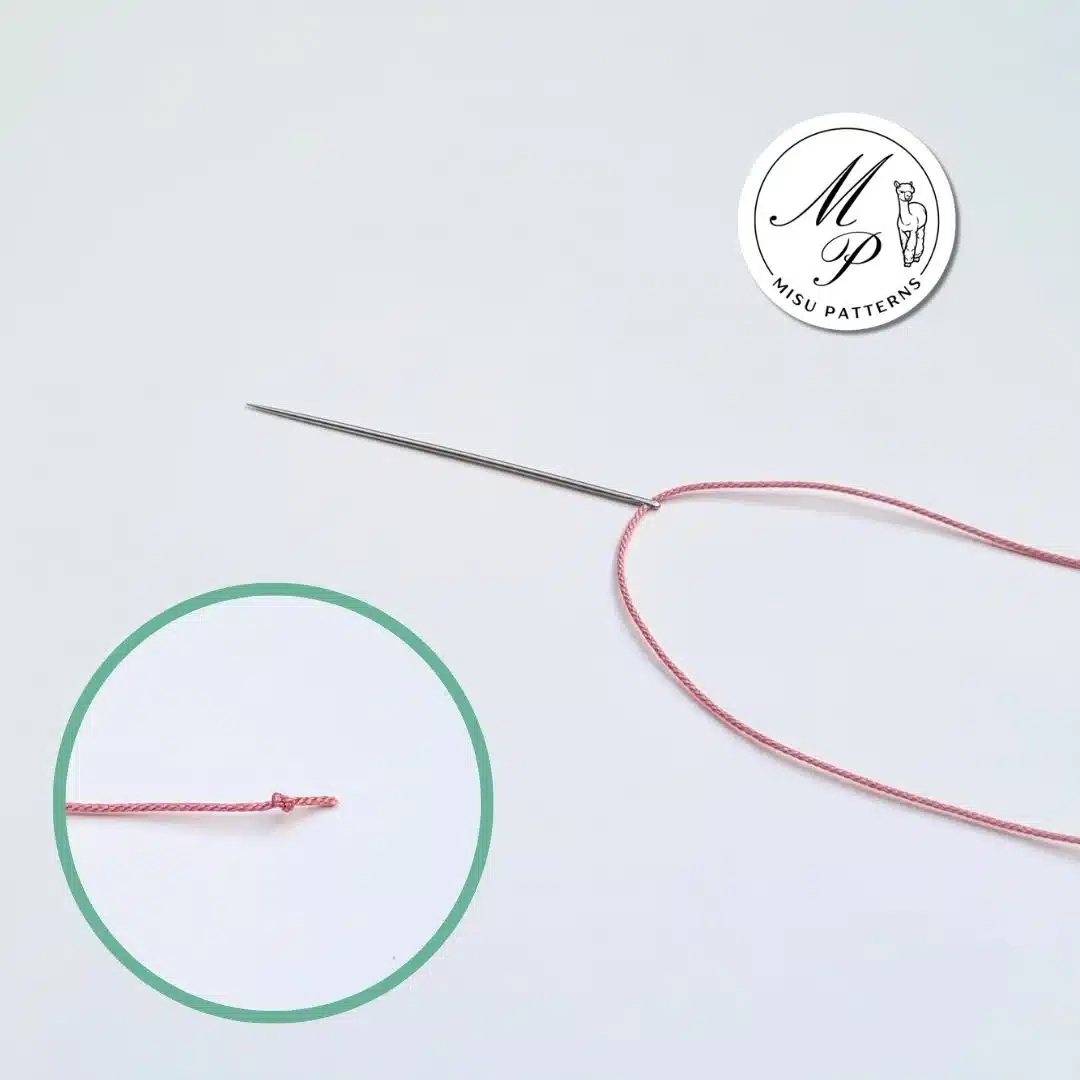
Step 1: Prepare the Thread and Tie a Knot
First, cut a piece of thread and insert it through the needle. Then, tie a little knot at the end.
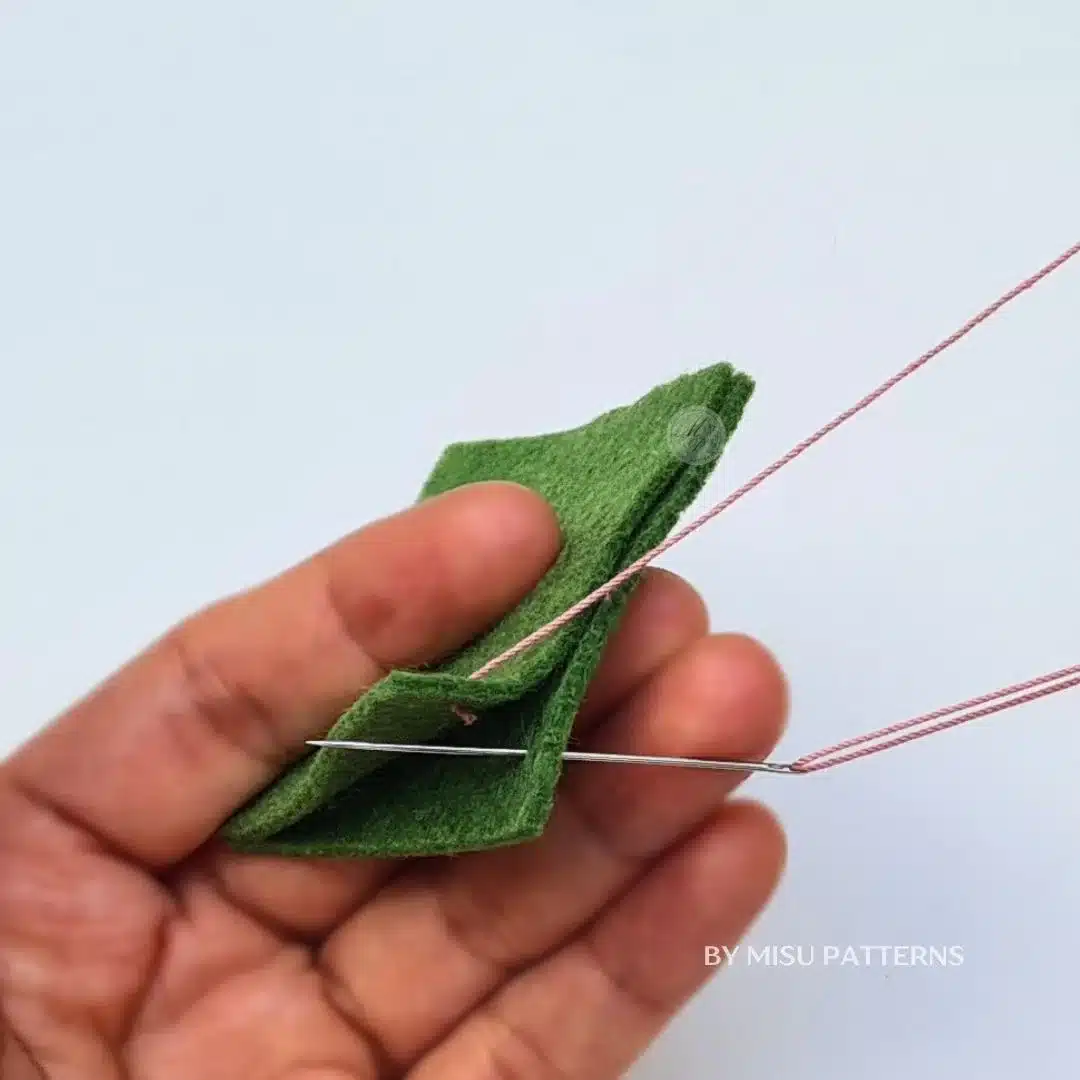
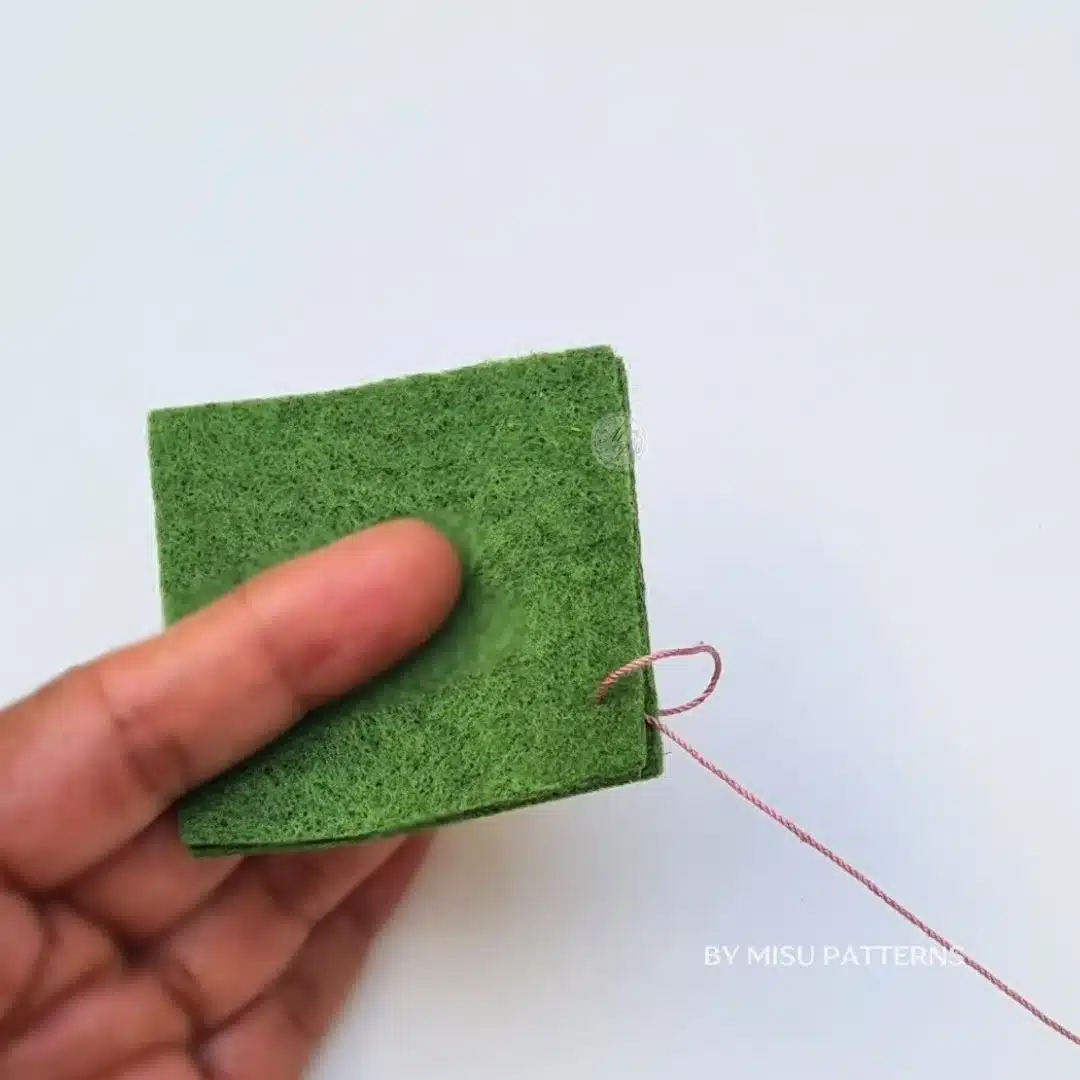
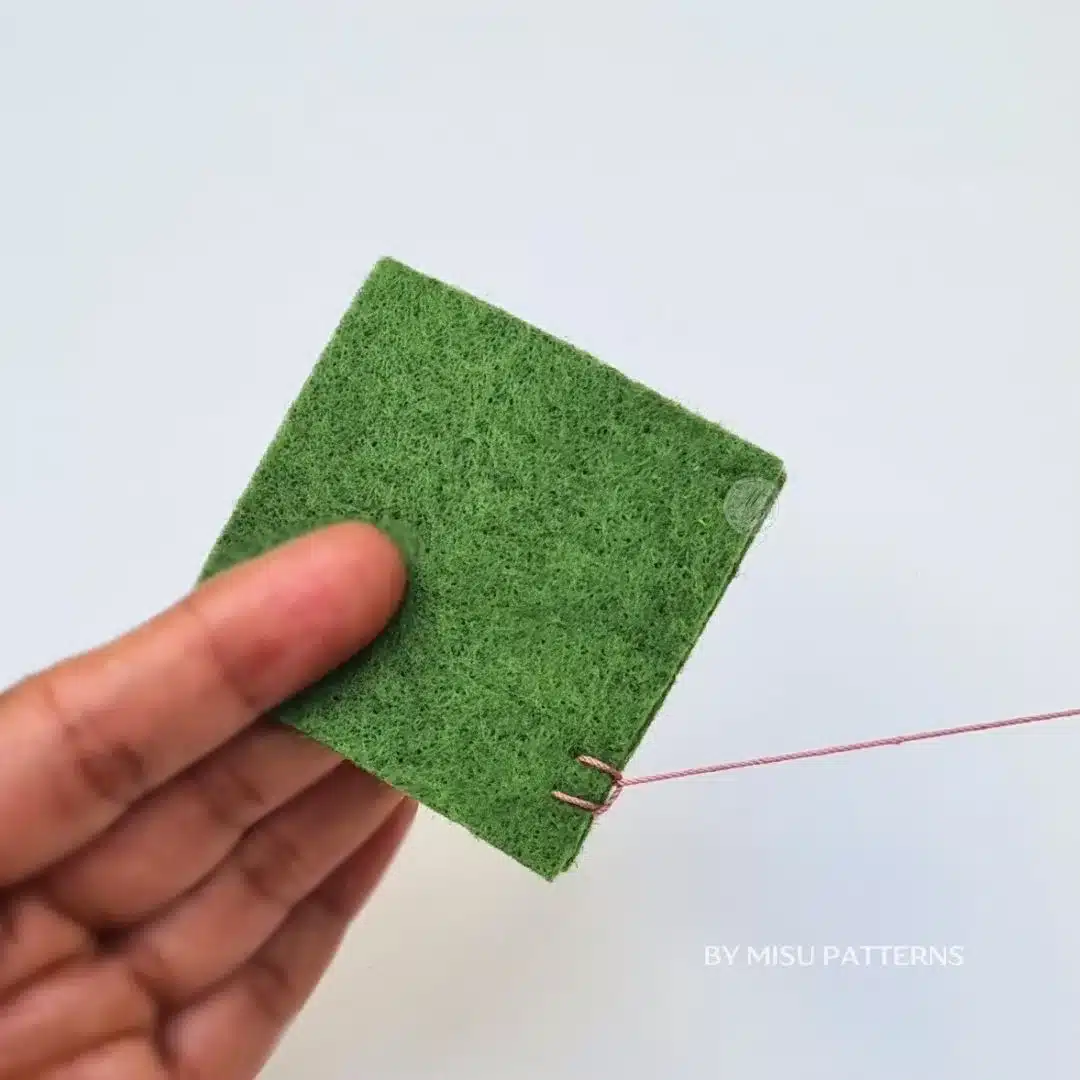
Step 2: The First Stitch (Anchoring from the Back)
To keep your project looking neat, we want to hide the knot so it doesn’t show on the outside edge of the fabric.

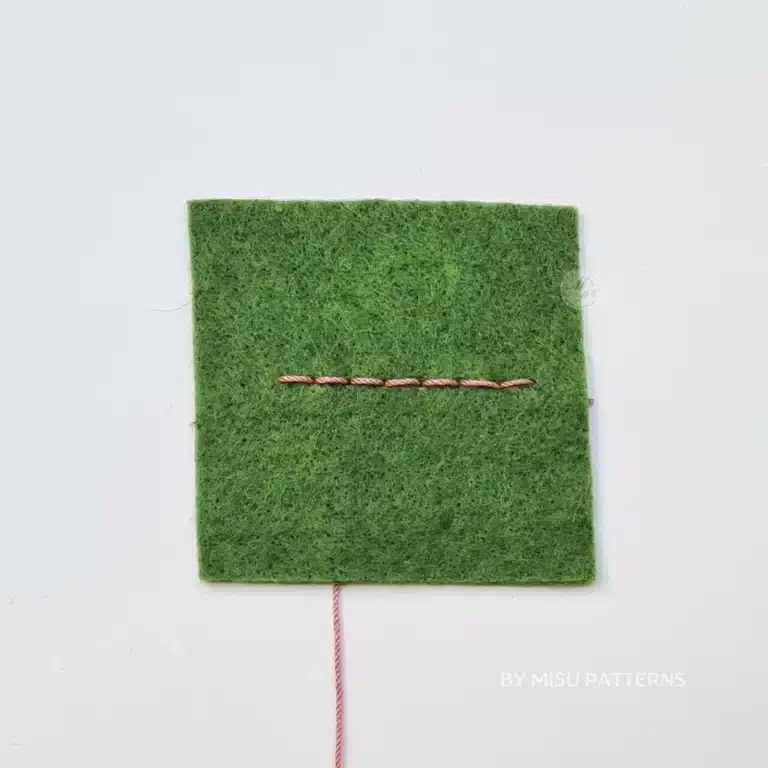
The Hidden Entry: Bring your needle from the back to the front (or between two layers of fabric if you are joining them). Poke through about 1/4 inch (0.5 cm) from the edge.

Secure the Start: Pull the thread all the way through until the knot is snugly hidden on the backside. This creates your “anchor” so your sewing doesn’t pull through as you work.
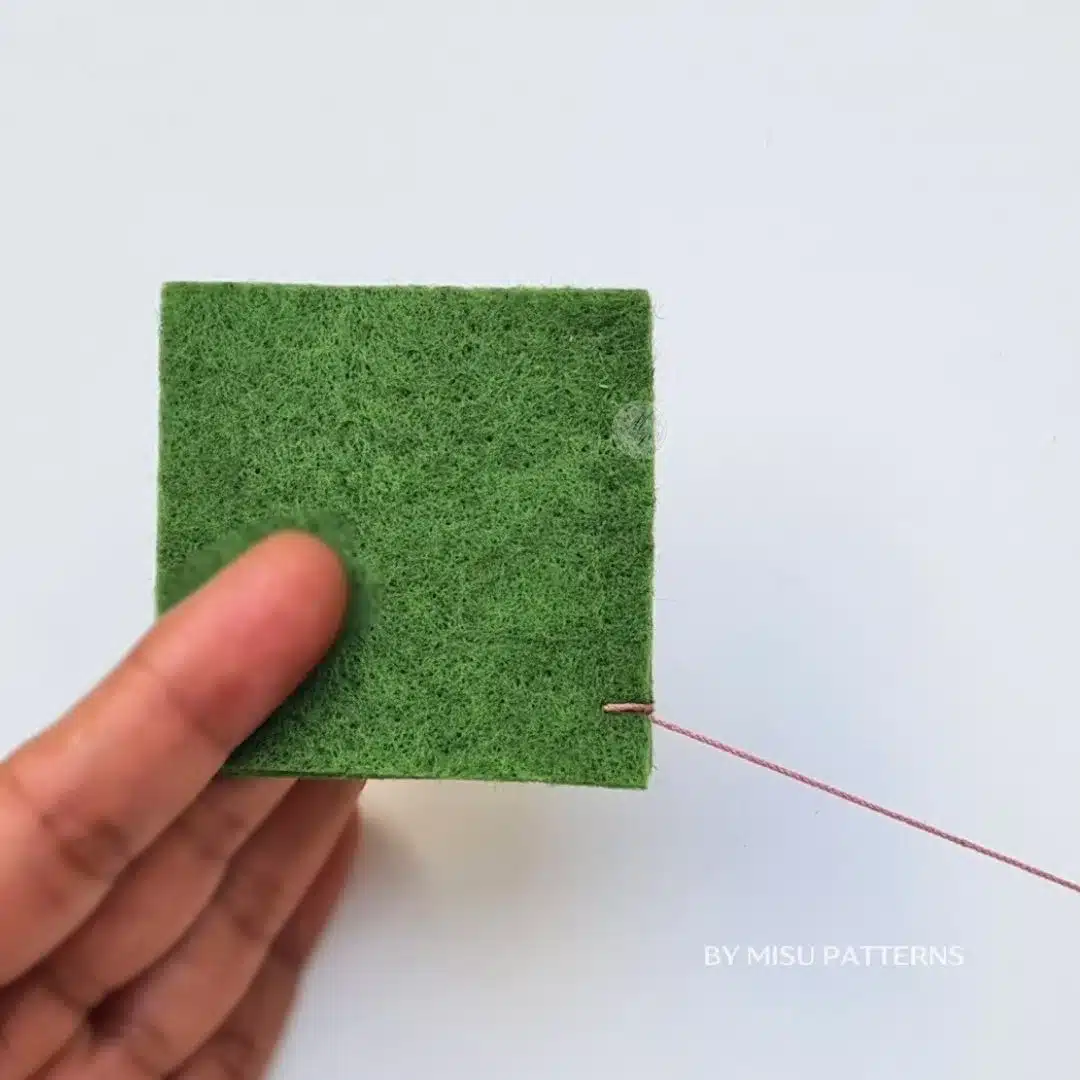
Step 3: Position the Needle and Create the Loop
Now, we are going to set up the signature look of the blanket stitch.
Insert the needle: Bring the needle around to the back of the felt again, then insert it from back to front, going through the exact same hole your first stitch came out of.
Lock the stitch: Before the loop closes, bring the needle forward and pull the thread through to lock your very first stitch into place!
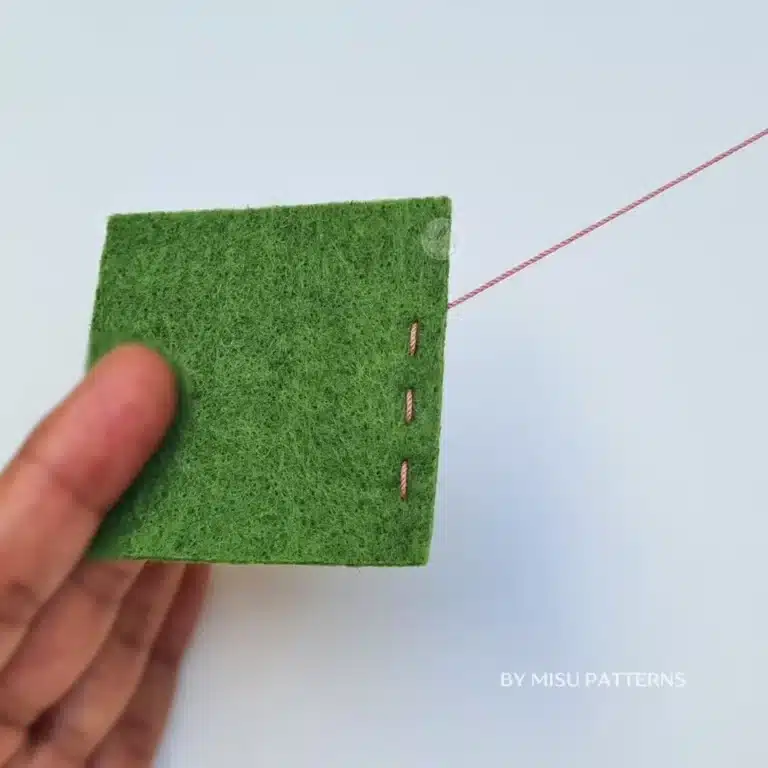
Step 4: Continue the Blanket Stitch
Now that your anchor stitch is set, the rest of the process is a rhythm of simple repetition.
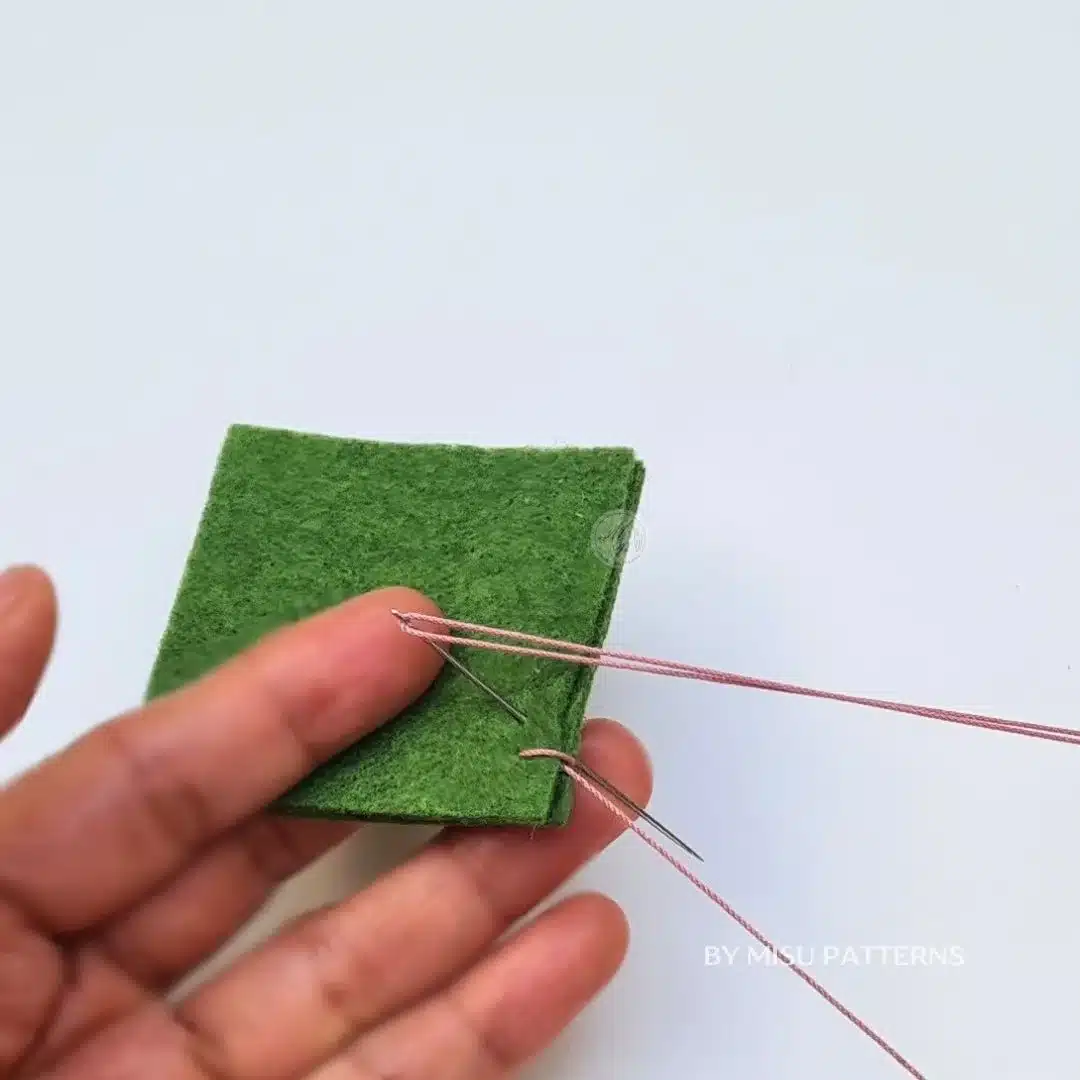
Position and insert: Move over about 1/4 inch (0.5 cm) in the direction you are sewing and insert your needle from front to back, keeping the exact same depth from the edge as your previous stitch.
Catch the loop: Before pulling the thread tight, make sure your needle passes through the loop that forms.
Pull it up: Pull the thread upward gently to lock your new stitch.
Repeat: Repeat this process all along the edge of your felt to create a beautiful, even border!
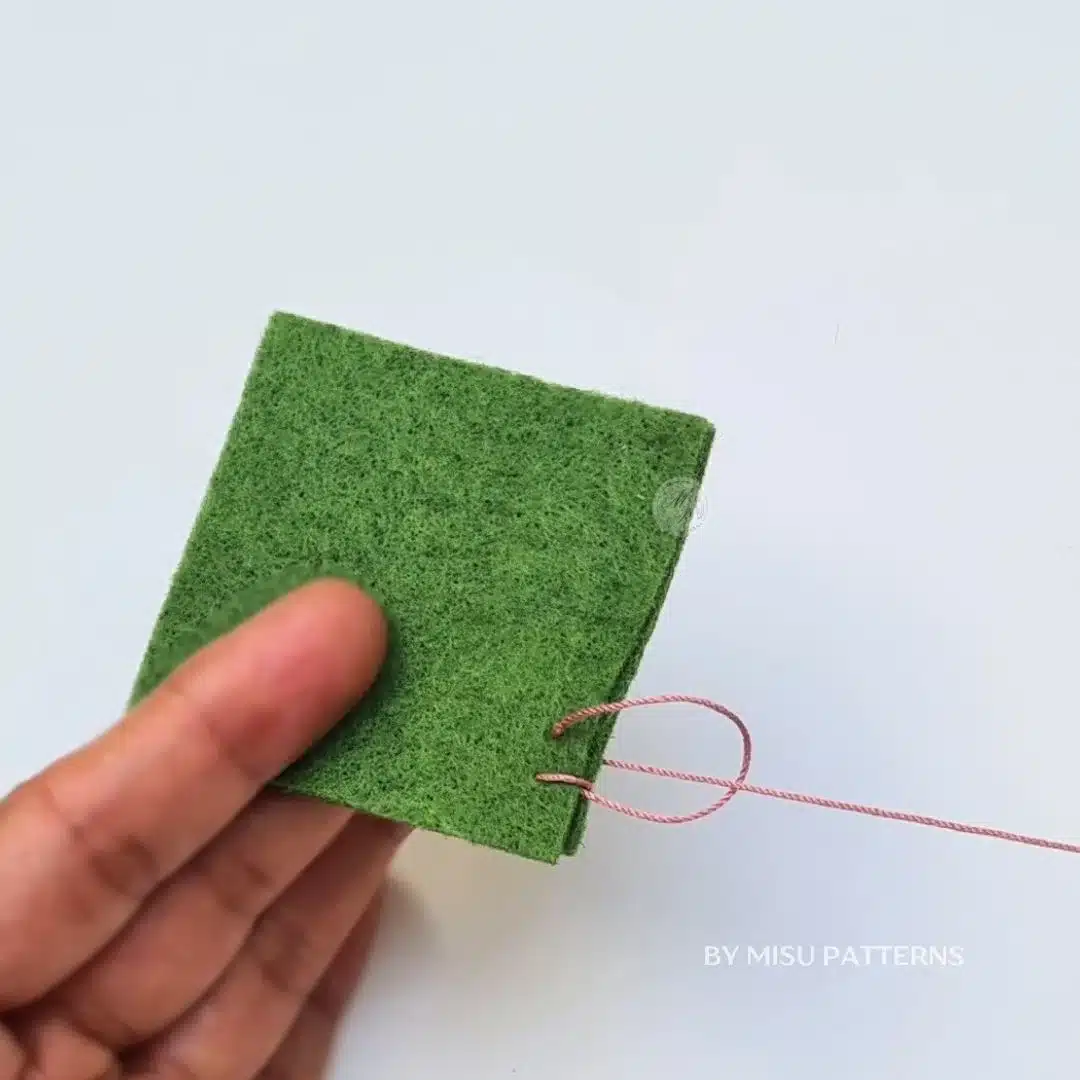
Step 5: Fasten Off and Secure the Stitch
When you reach the end or run out of thread, it’s time to lock it down.
Tie the knot: Take a tiny stitch right over your last line of thread. Pass your needle through the resulting loop and pull tight to create a knot against the edge.
Hide and cut: Hide the tail by running your needle through the fabric layers, pull it slightly taut, and snip the excess thread.
Tips for a Perfect Blanket Stitch
- Keep your tension even: If you pull the thread too tight, the fabric will bunch up and wrinkle. Keep it snug but relaxed.
- Consistency is key: The secret to a beautiful blanket stitch is keeping the spacing between stitches and the depth from the edge exactly the same. Beginners can use a water-soluble marker to map out even dots before starting.
And that’s it! You have successfully mastered the blanket stitch. Now you can confidently apply this technique to blankets, throw pillows, felt ornaments, and so much more.
Easy Felt Ornament You Can Make Using the Blanket Stitch
If you are a visual learner, watching the needle and thread move in real-time makes all the difference!
Press play on our quick video tutorial below to watch the rhythm of the blanket stitch in action. You’ll see exactly how to position the needle, catch the loop, and get that perfect, even spacing every single time.
👉 Click below to watch the complete step-by-step tutorial: