If you’re just starting your embroidery journey, it’s totally normal to feel a little overwhelmed by all those fancy knots and intricate patterns. Believe me, I’ve been there! But here’s a little secret: the backstitch is about to become your new superpower.
Think of it as the reliable best friend of hand-sewing. While it looks beautifully simple, it’s actually much stronger than a running stitch, giving you a clean, continuous line that’s perfect for everything from sturdy seams to delicate outlines. If you’re looking for that ‘pro’ finish without the stress, this is exactly where you want to start practicing!
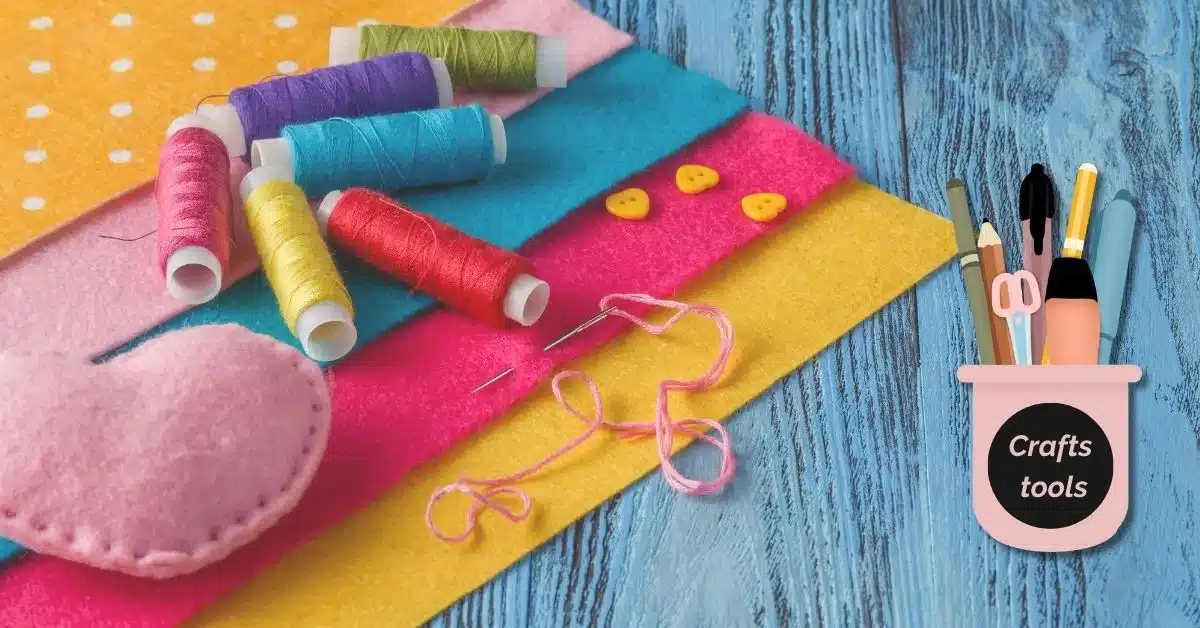
Materials Needed for This Backstitch Stitch Tutorial
Before you begin, make sure you have these basics ready:
- Needle
- Thread
- Felt
- Scissor
How to Do a Backstitch Stitch (Step-by-Step Instructions)
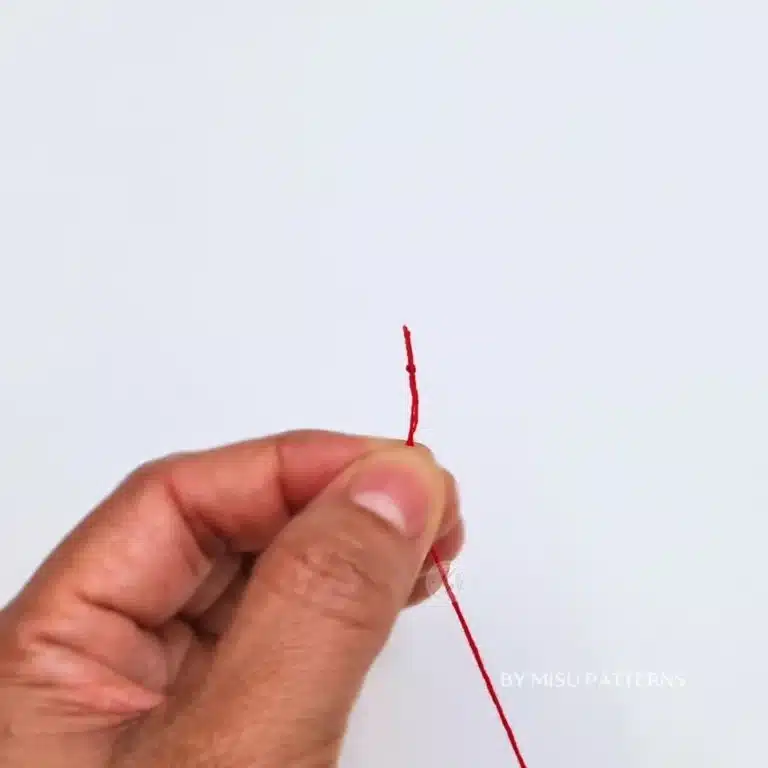
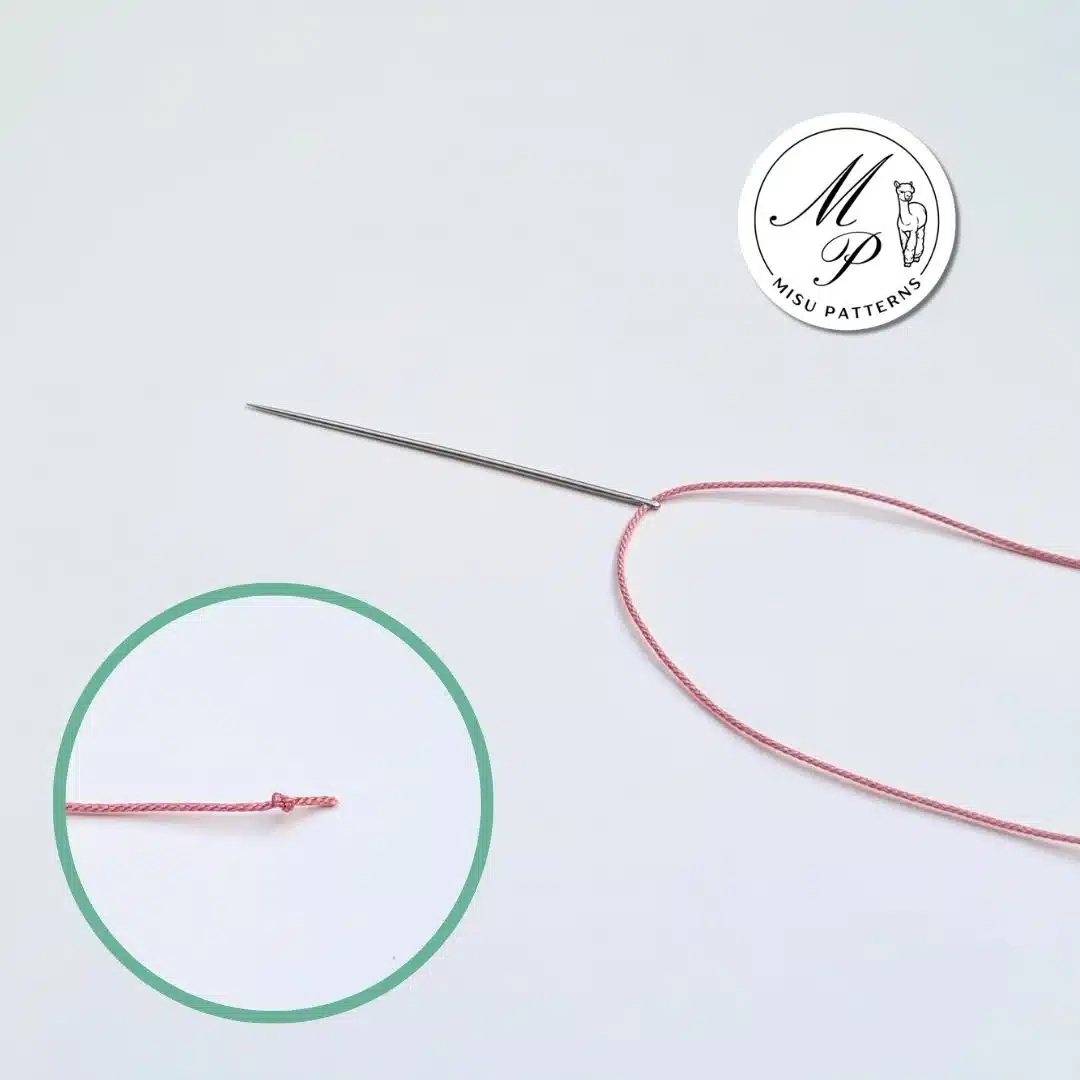
Step 1: Thread the Needle
First, cut a piece of thread and insert it through the needle. Then, tie a little knot at the end.
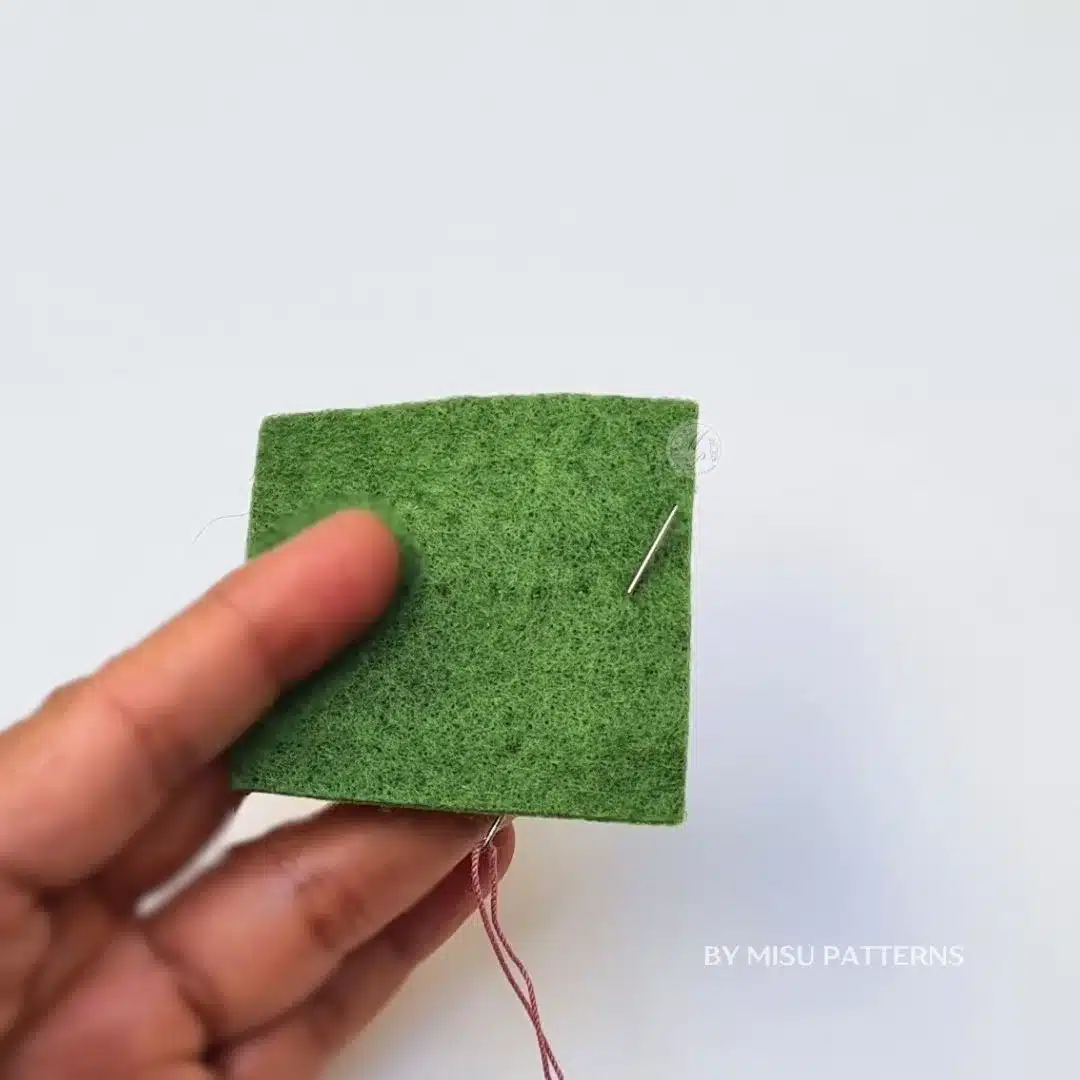
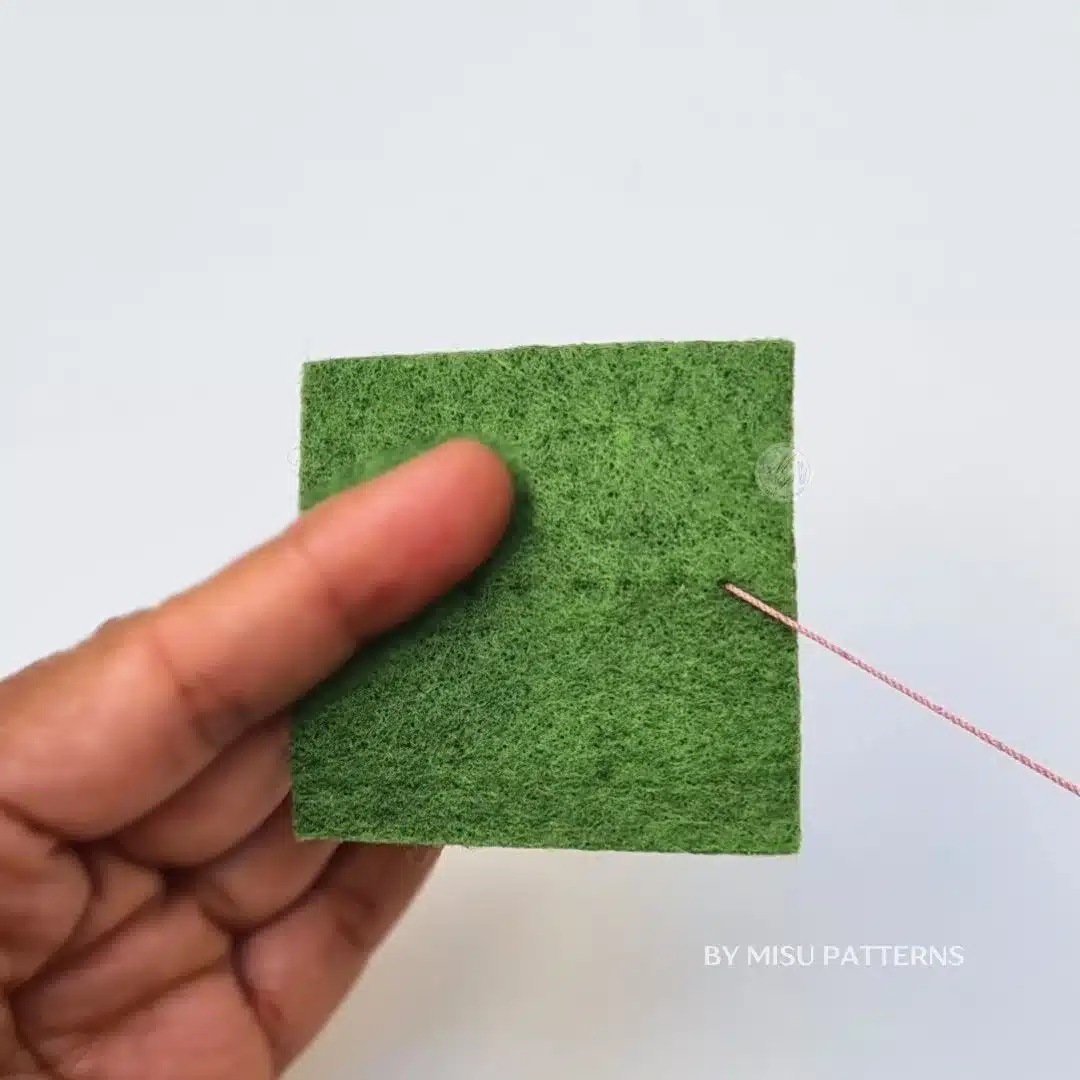
Step 2: Start the Stitch
Bring your needle up through the fabric from the back to the front.
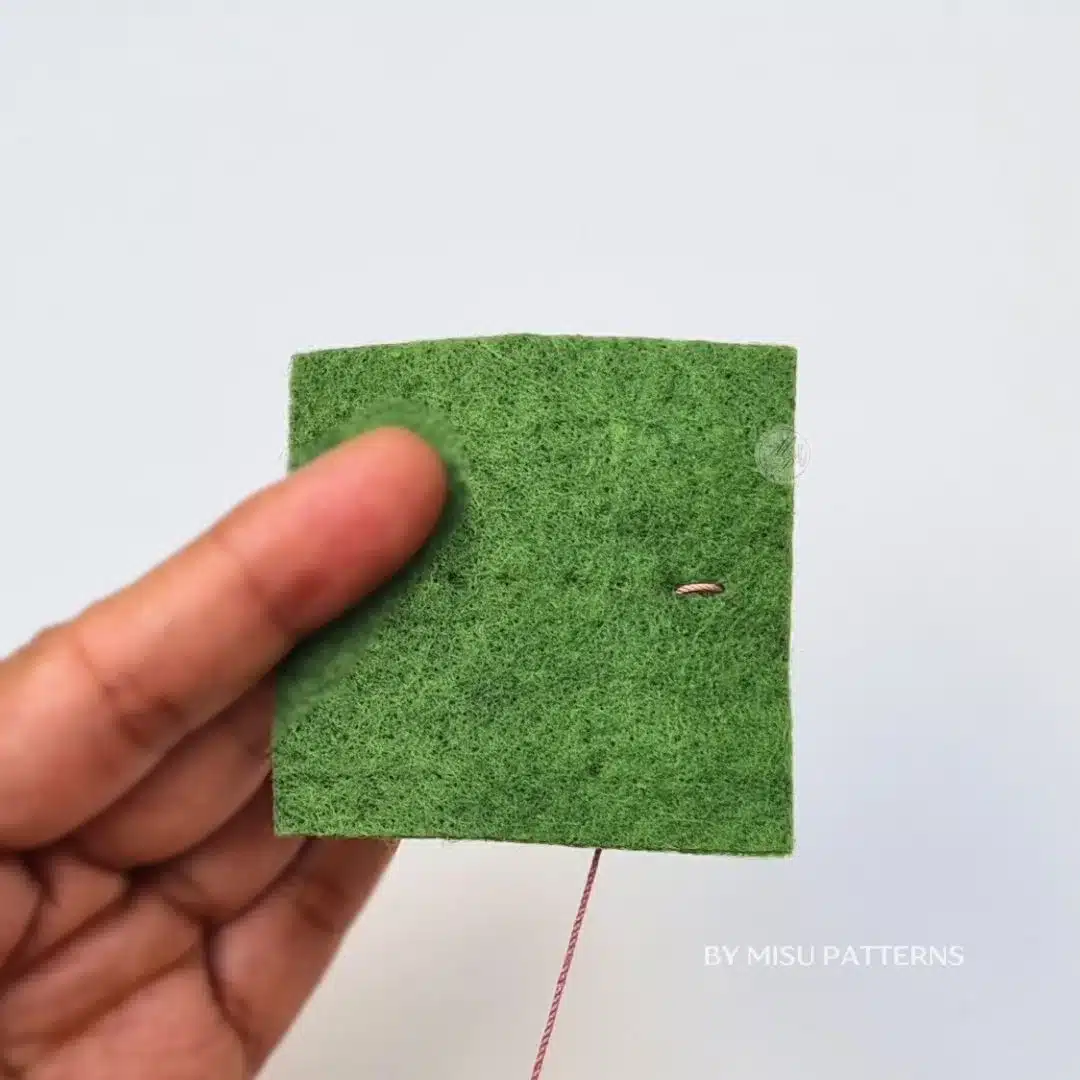
Step 3: Make the First Stitch
Insert the needle a short distance ahead (about 2–5 mm depending on your project) and pull it through to the back of the fabric.
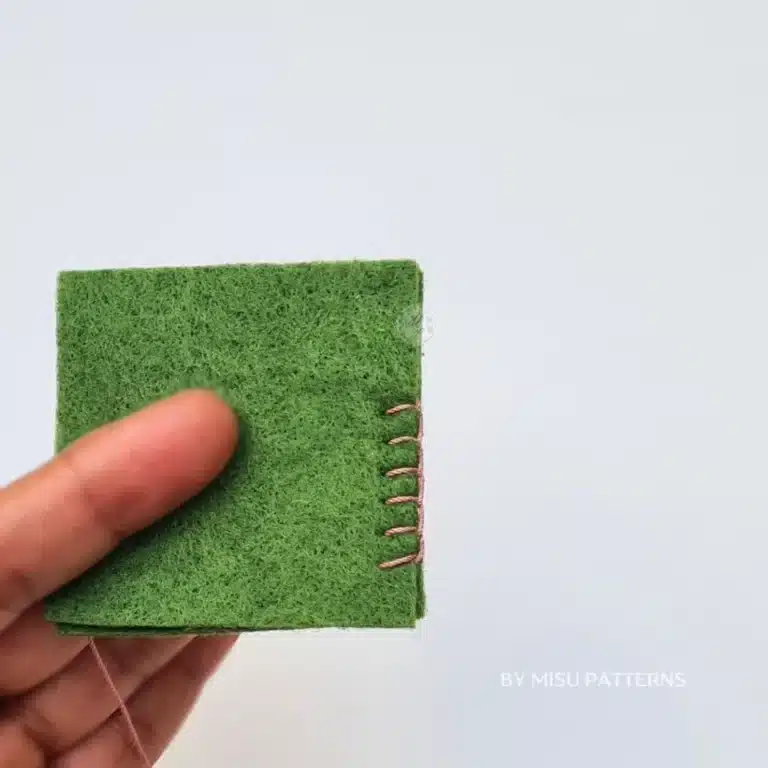
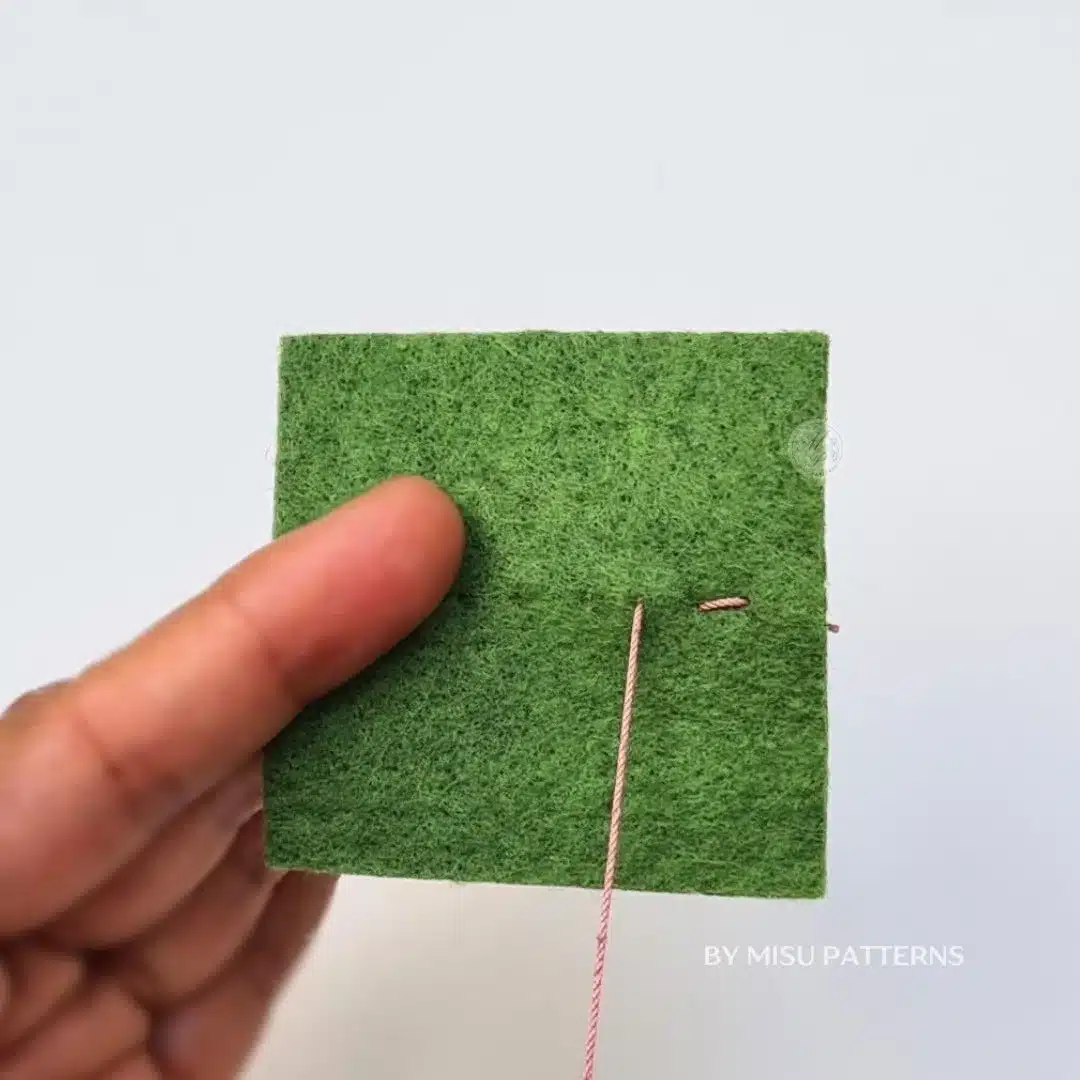
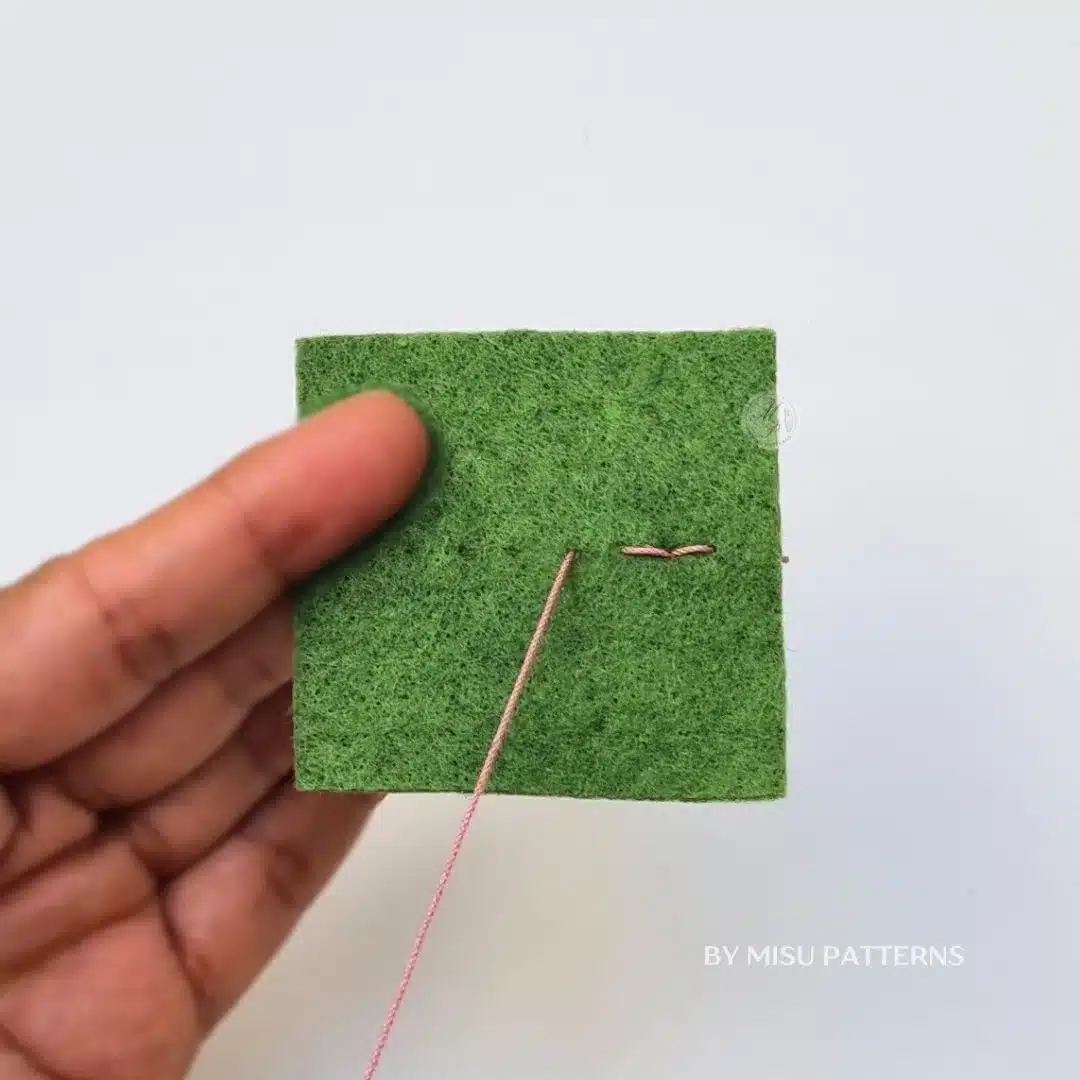
Step 3: Go back to the previous point (The “Back” in Backstitch)
Instead of moving forward again, bring your needle up through the felt one stitch-length ahead. Then, go back and insert the needle into the exact spot where your previous stitch ended. This is what creates the signature backstitch line.
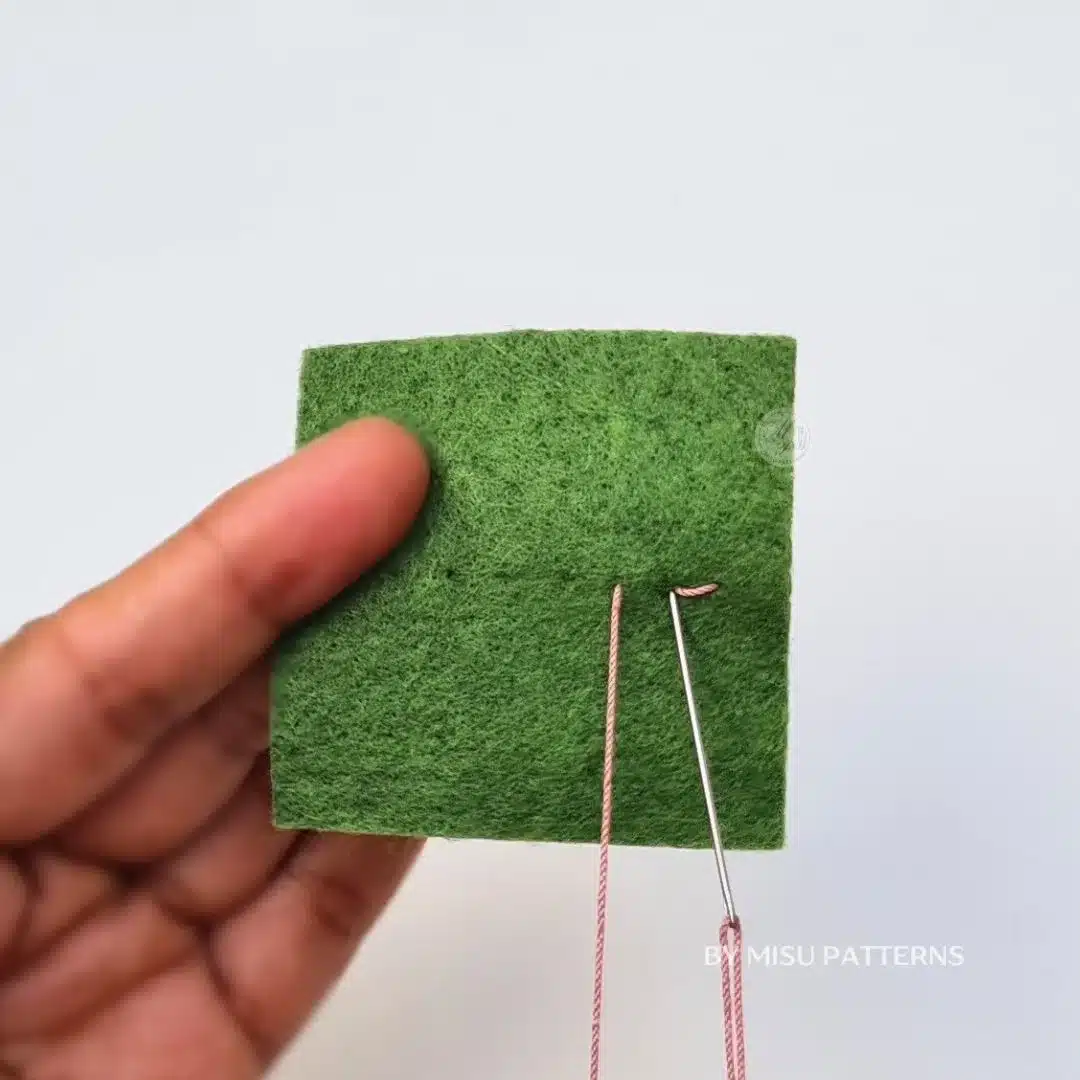
It is important not to pull each stitch too tight, as this can distort the felt. Keep the tension gentle to maintain a smooth and even shape.

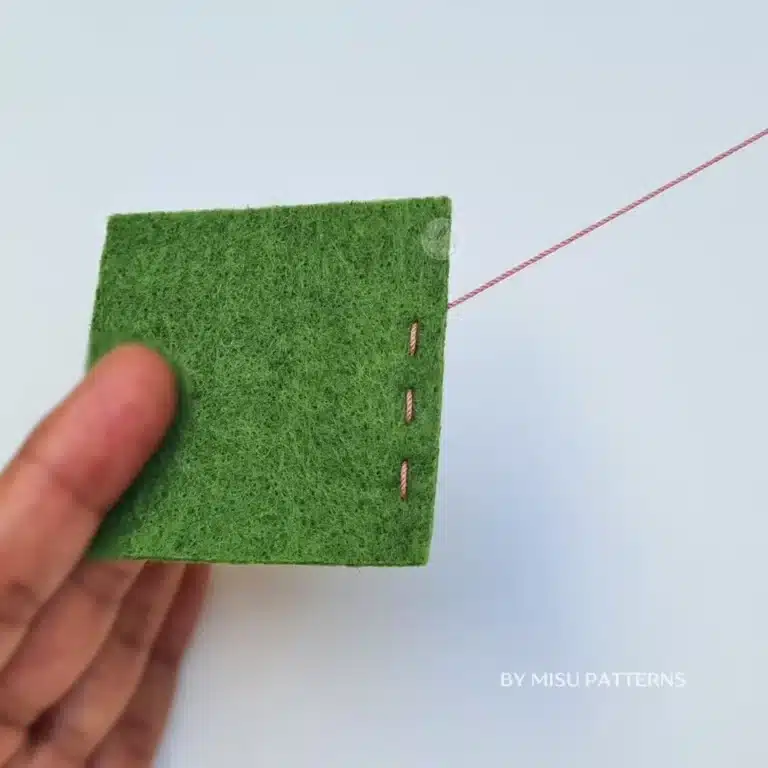
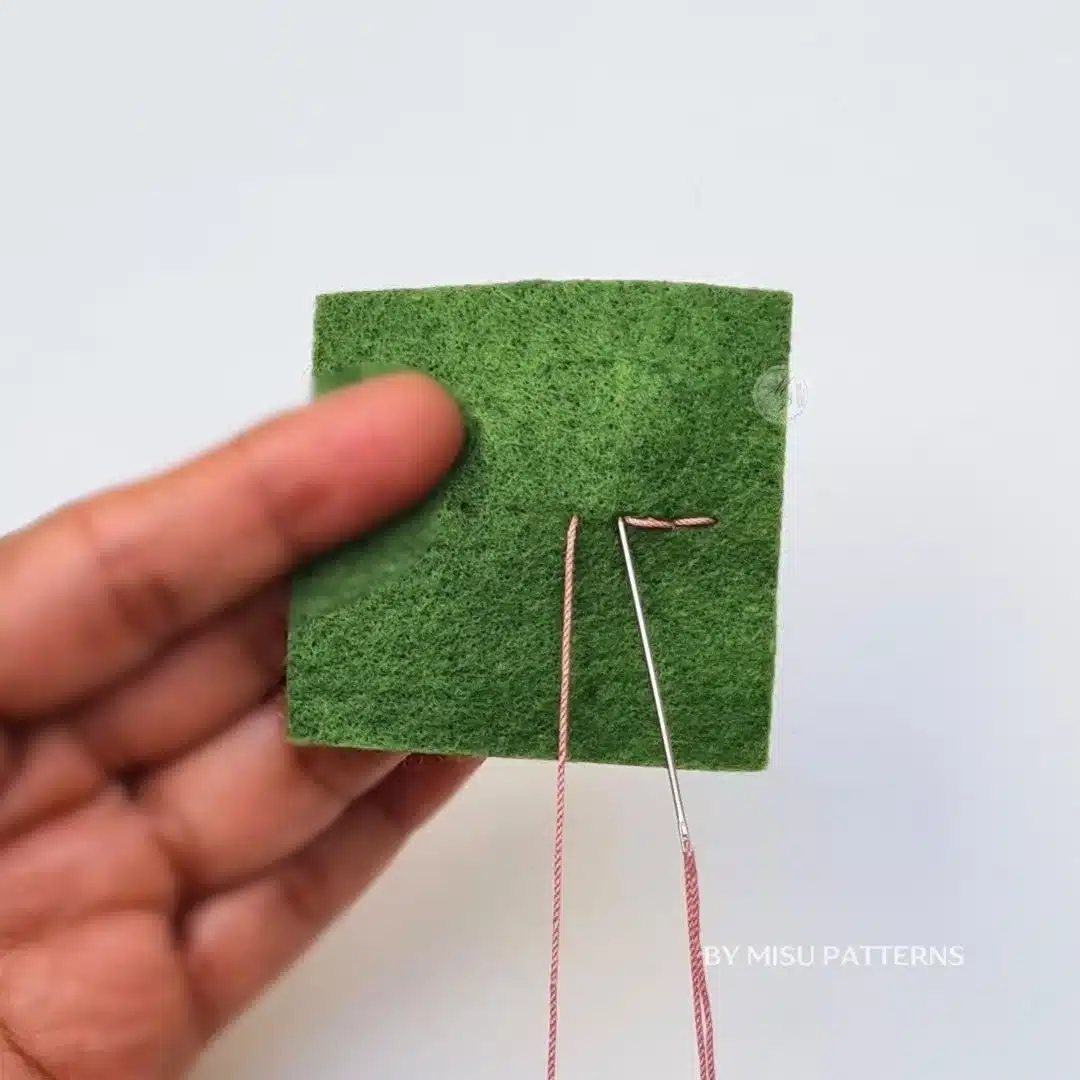
Step 4: Continue Stitching
Continue stitching forward one step, then going back into the end of the previous stitch. This creates a continuous, solid line.
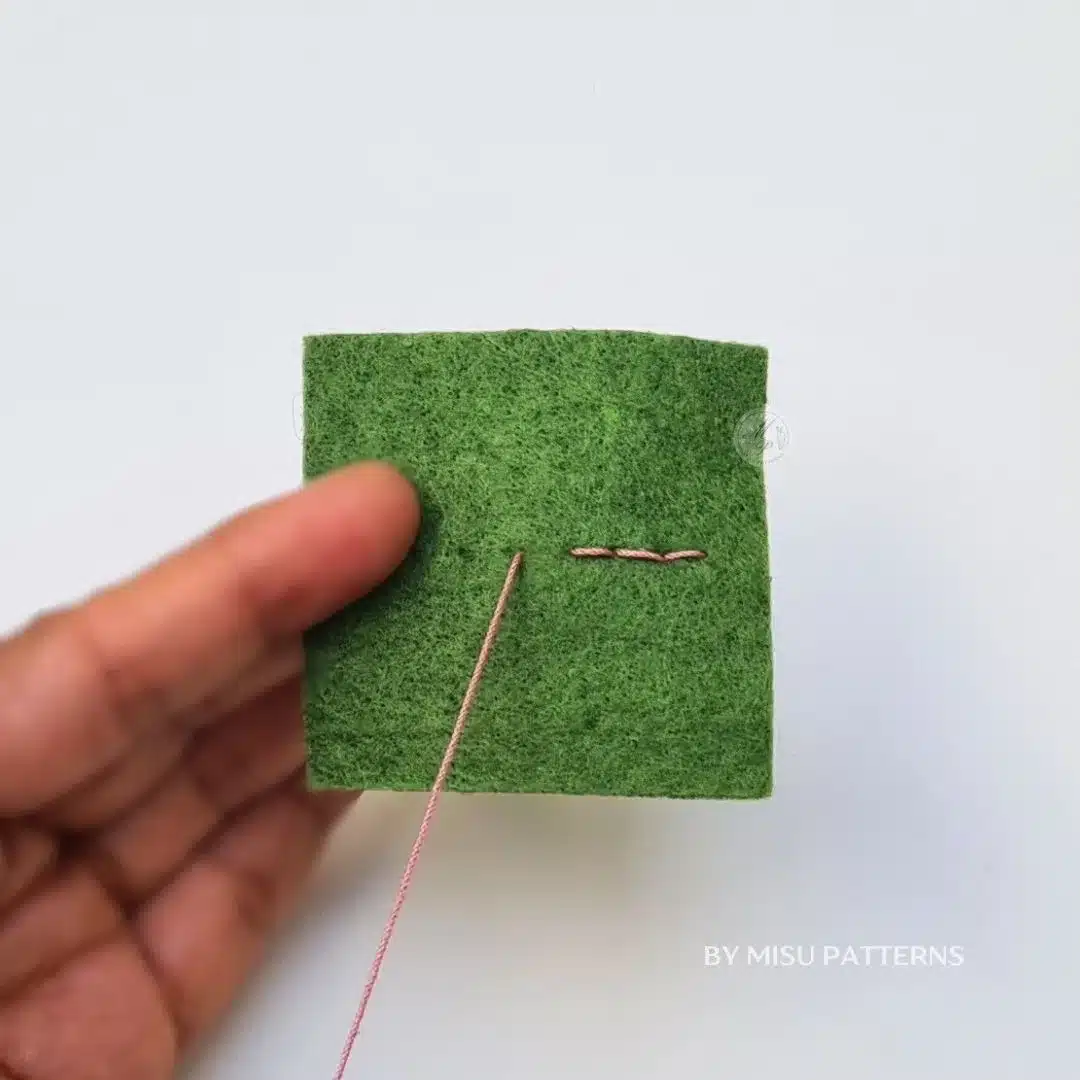
Step 5: Keep Stitches Even
Keep your stitches and spacing even for a clean, professional look.
Step 6: Finish the Backstitch Stitch
Finally, when you reach the end, bring the needle to the back of the fabric and secure it with a knot.
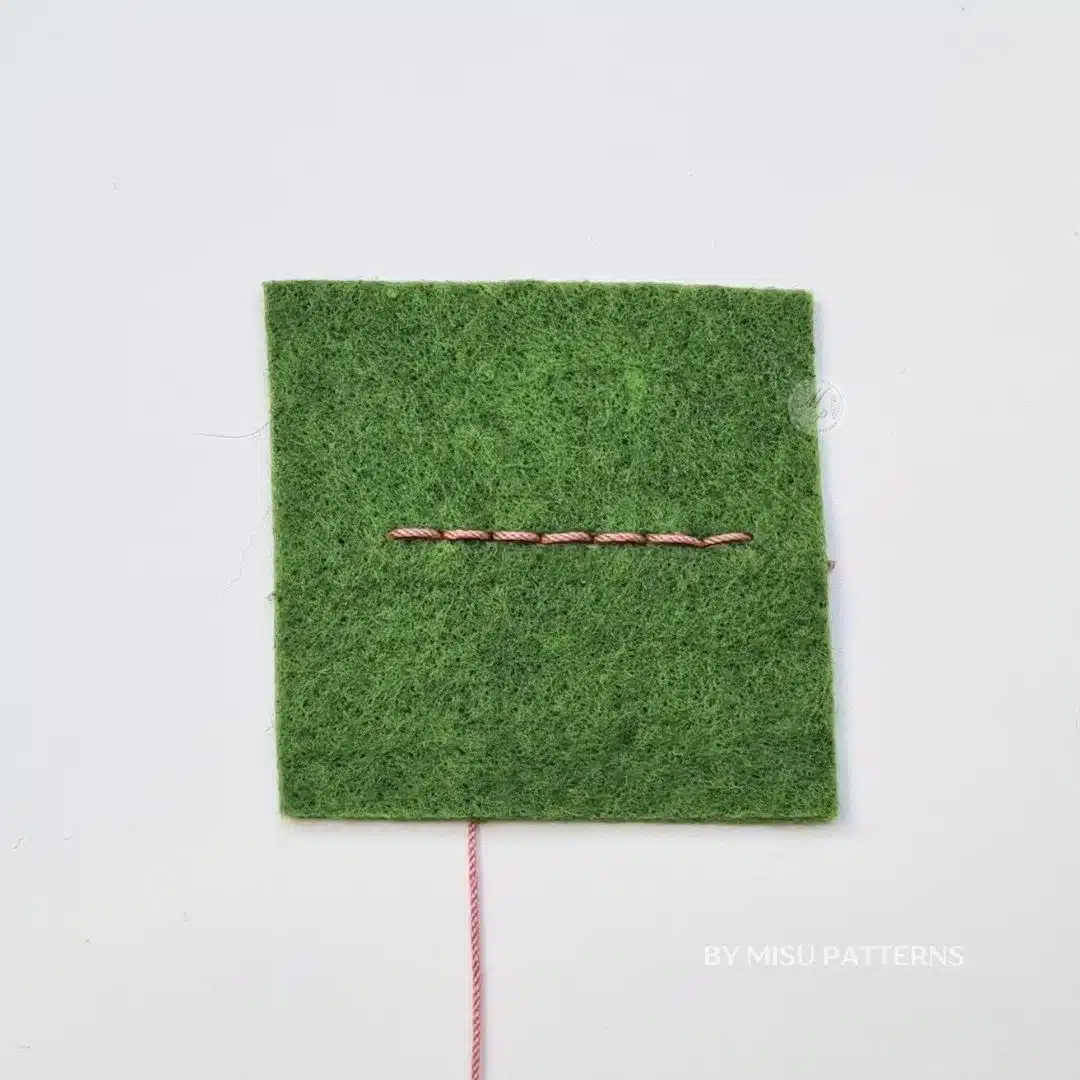
Final Result of the Backstitch Stitch
The backstitch creates a strong, smooth, and continuous line that looks clean and professional. Once completed, you can see how the even stitches form a neat outline that is both durable and decorative. This stitch is perfect for seams, outlines, and embroidery details, giving your handmade projects a polished finish.
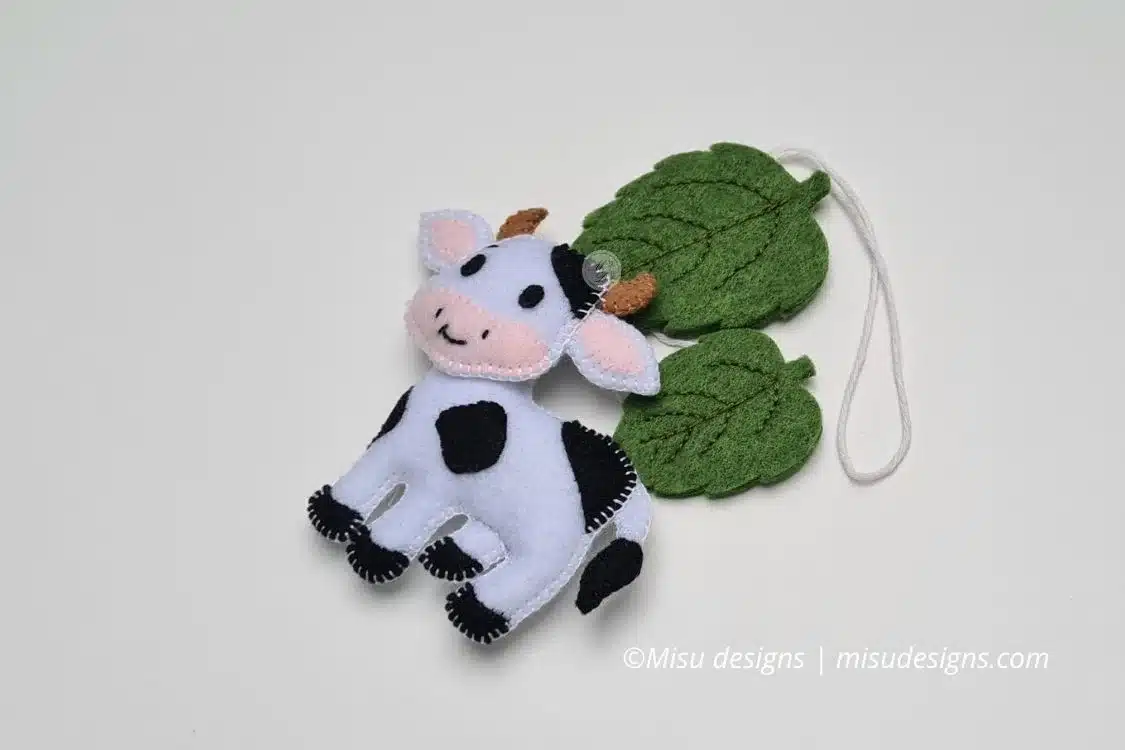
You can use the backstitch in a variety of sewing and embroidery projects. It works beautifully for adding detail to felt leaves, creating clean outlines, or stitching small decorative elements. It’s also perfect for adding definition to the legs, faces, or other features of felt animals, helping bring your handmade designs to life with a neat and professional finish.
Discover the following patterns available in my store here.