What Is a Running Stitch?
The running stitch is one of the simplest and most versatile hand-sewing techniques. It is created by passing the needle in and out of the fabric at regular intervals, forming a neat dashed line.
Because of its simplicity, it is ideal for beginners. Additionally, it can be used for seams, gathering fabric, and decorative details.
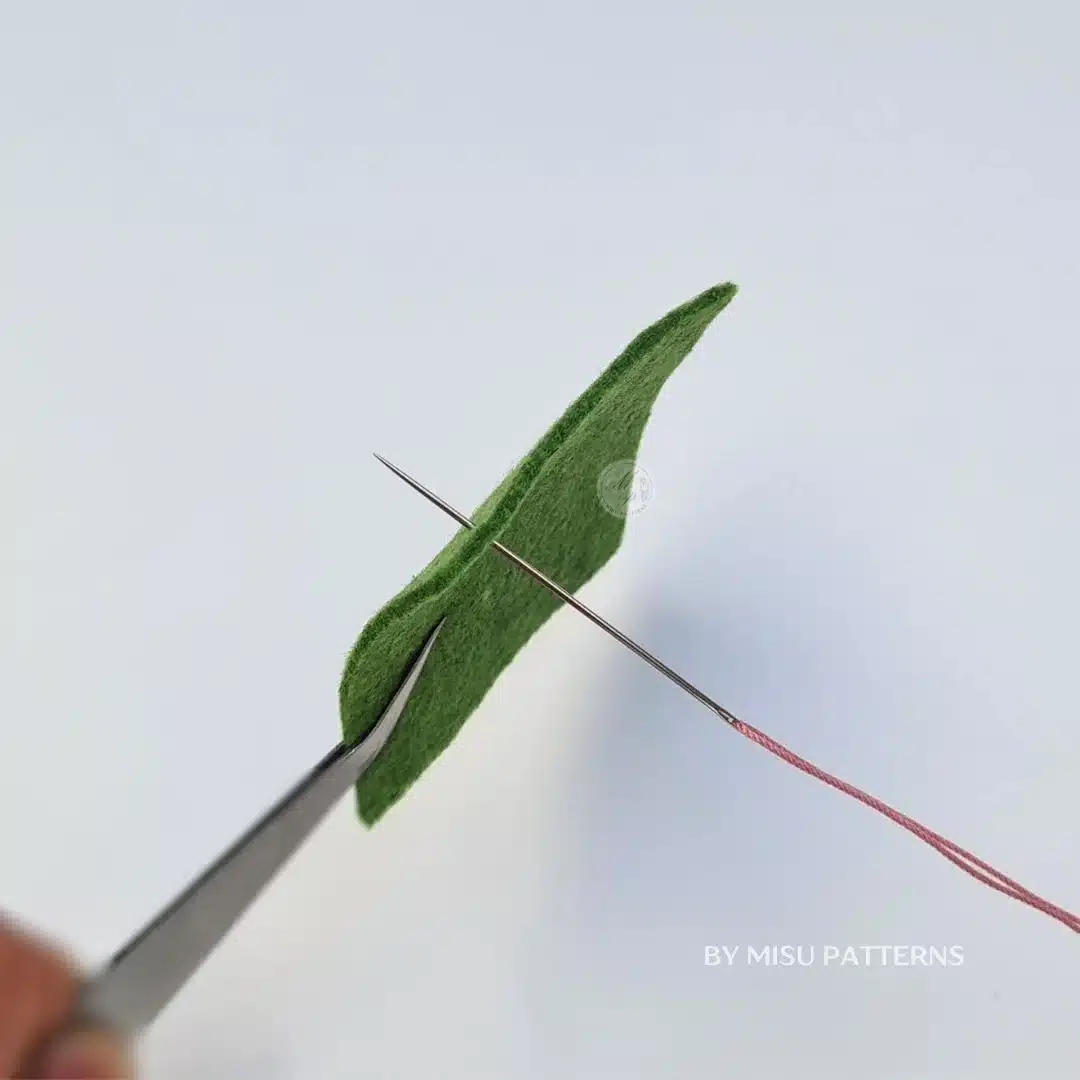
Materials Needed for This Running Stitch Tutorial
Before you begin, make sure you have the following materials:
- Needle
- Thread
- Fabric
- Scissors
How to Do a Running Stitch (Step-by-Step Instructions)
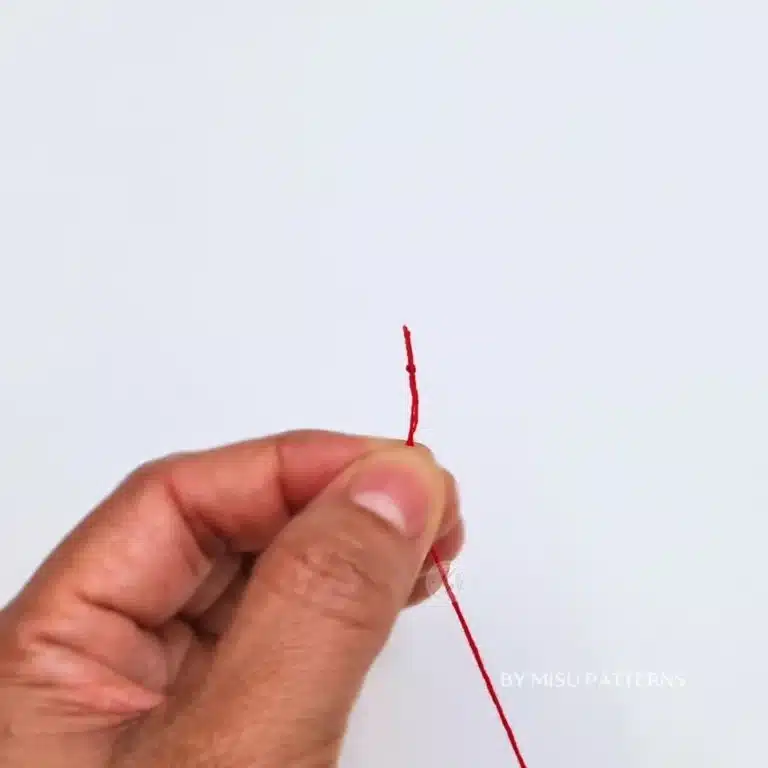
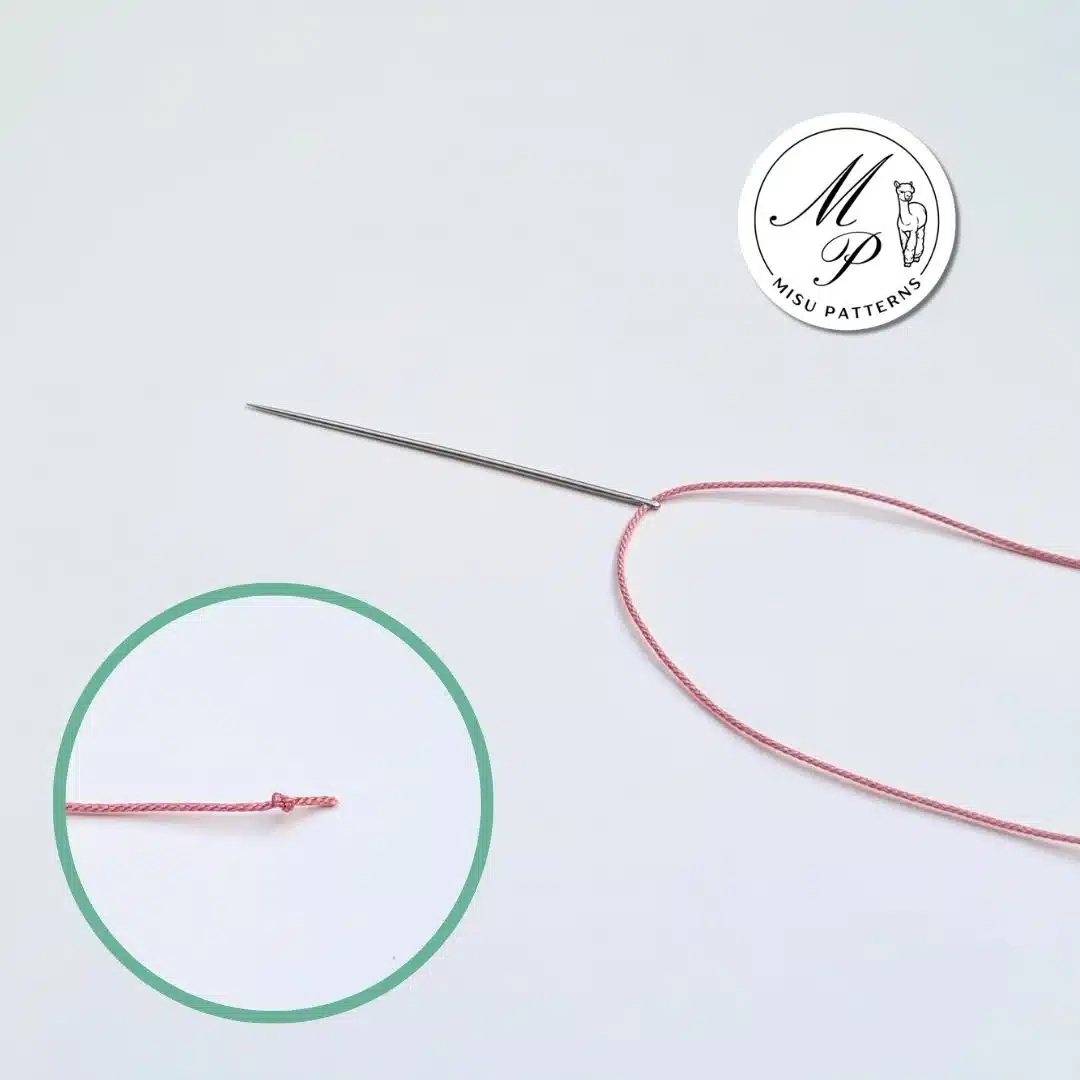
Step 1: Thread the Needle
First, cut a piece of thread and insert it through the needle. Then, tie a small knot at one end.
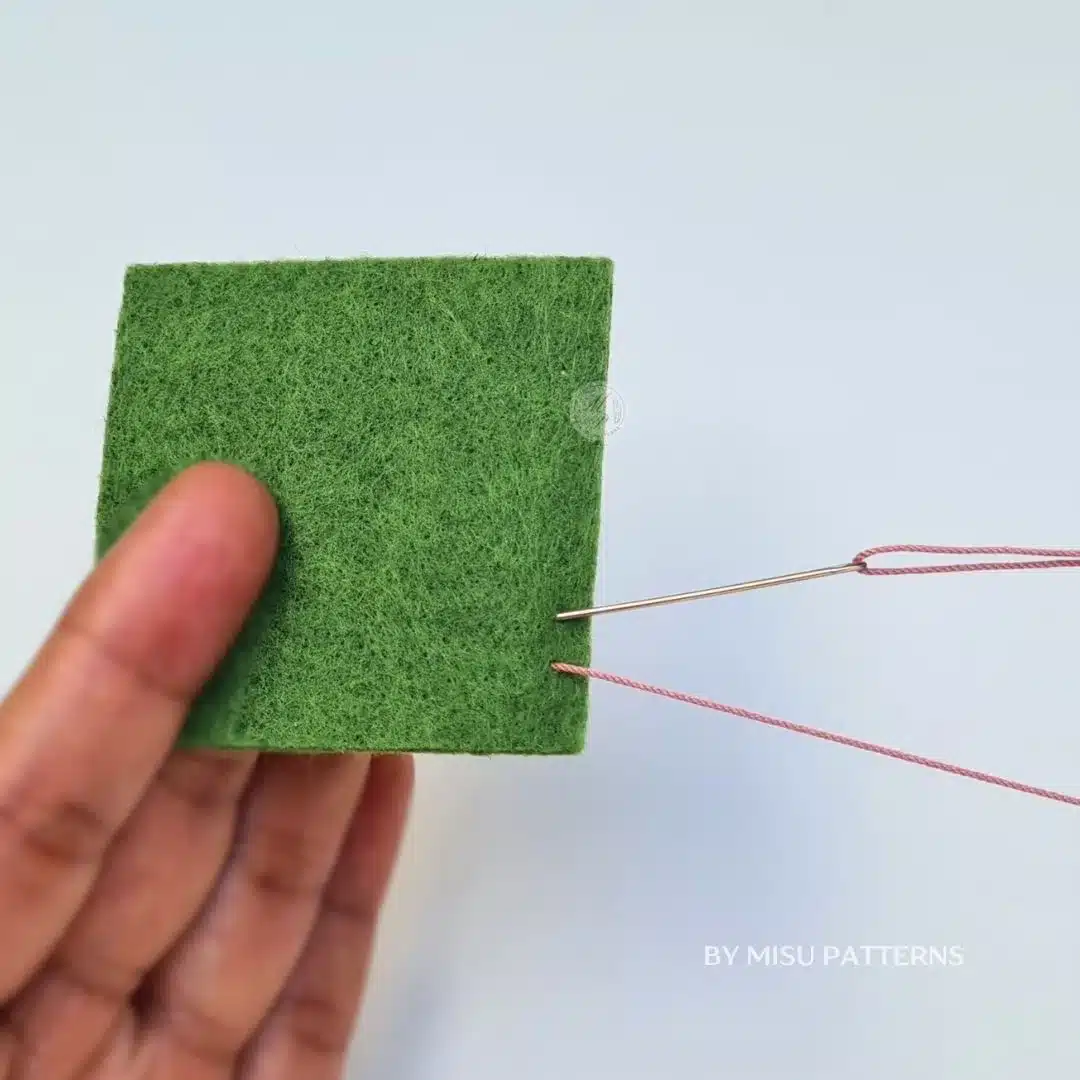
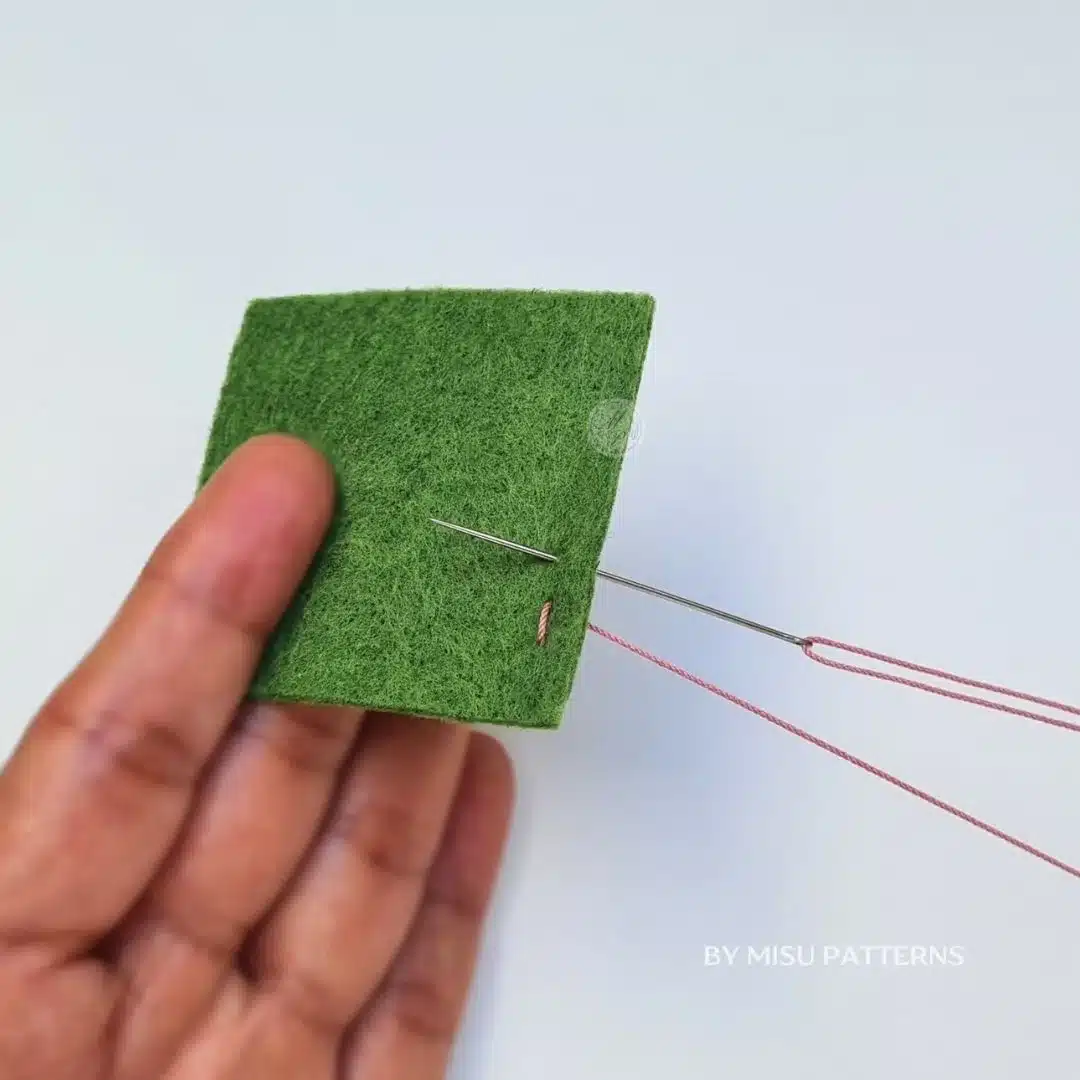
Step 2: Start the Stitch
Next, push the needle up from the back of the fabric to the front. Then, pull the thread through until the knot stops it.

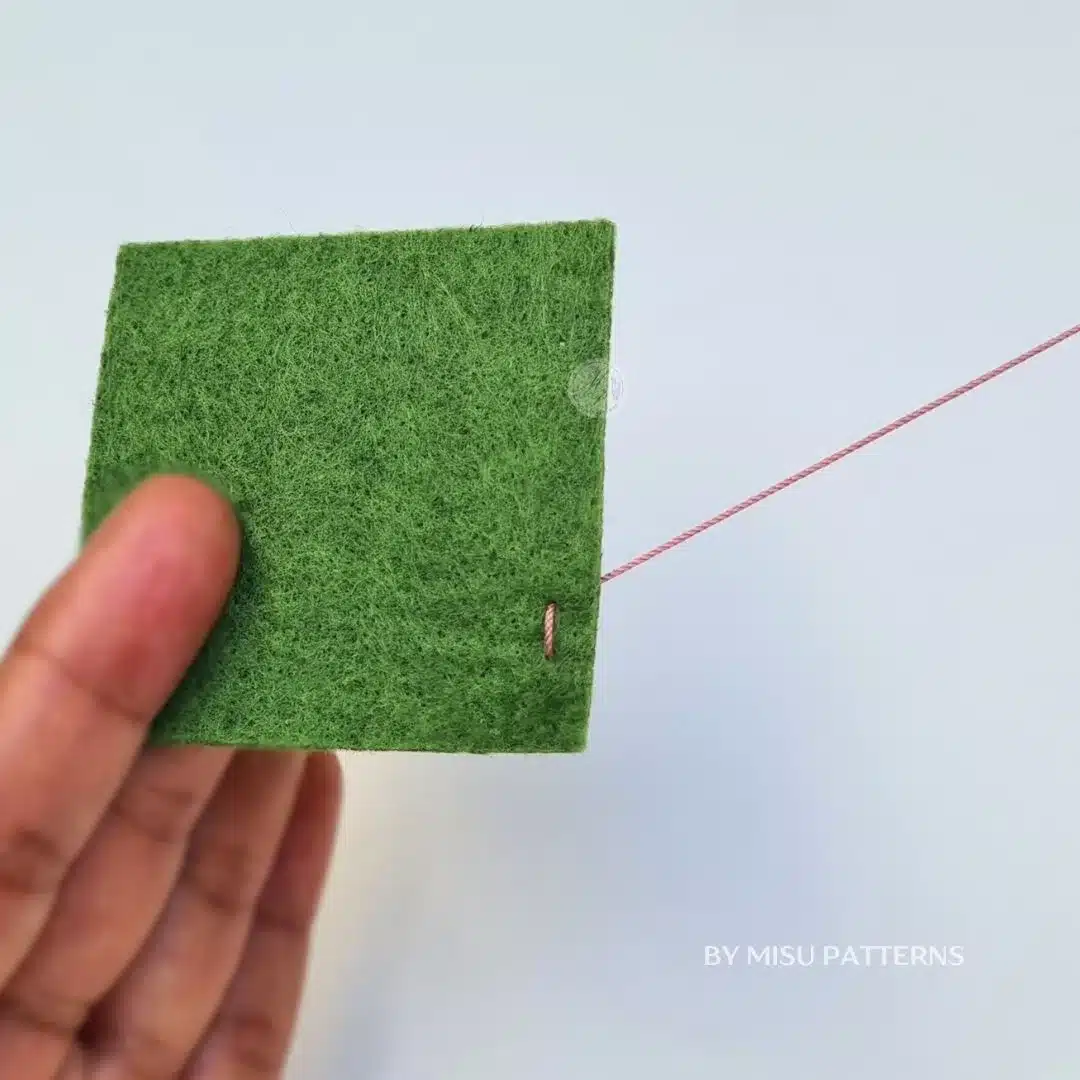
Step 3: Make the First Stitch
After that, insert the needle back down into the fabric a short distance from where it came out.
Step 4: Continue Stitching
Now, bring the needle up again a short distance ahead, and then push it back down. In this way, you will create a line of stitches.
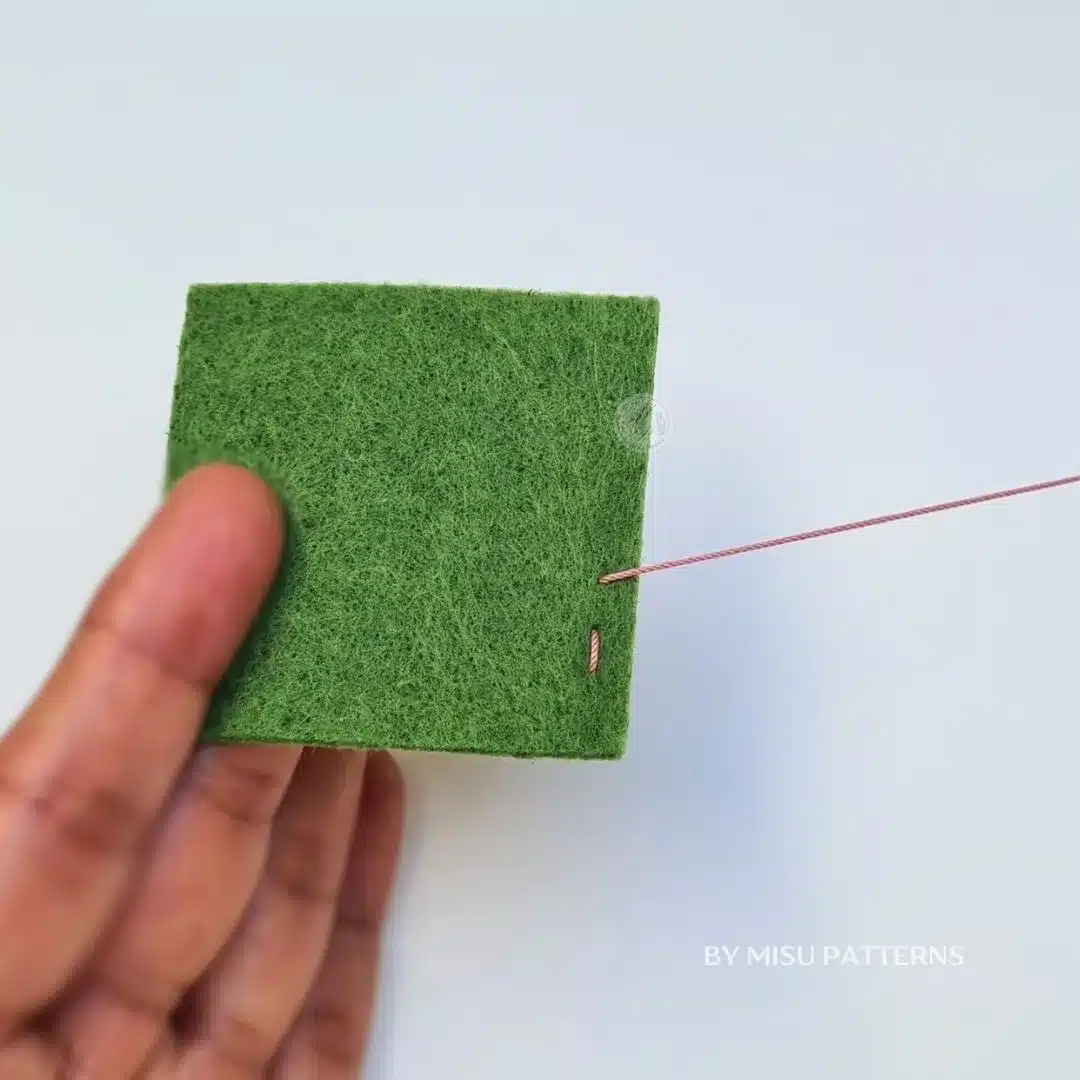
Step 5: Keep Stitches Even
At this stage, try to keep your stitches and spaces consistent. This will help you achieve a neat and professional look.
Step 6: Finish the Running Stitch
Finally, when you reach the end, bring the needle to the back of the fabric and secure it with a knot.
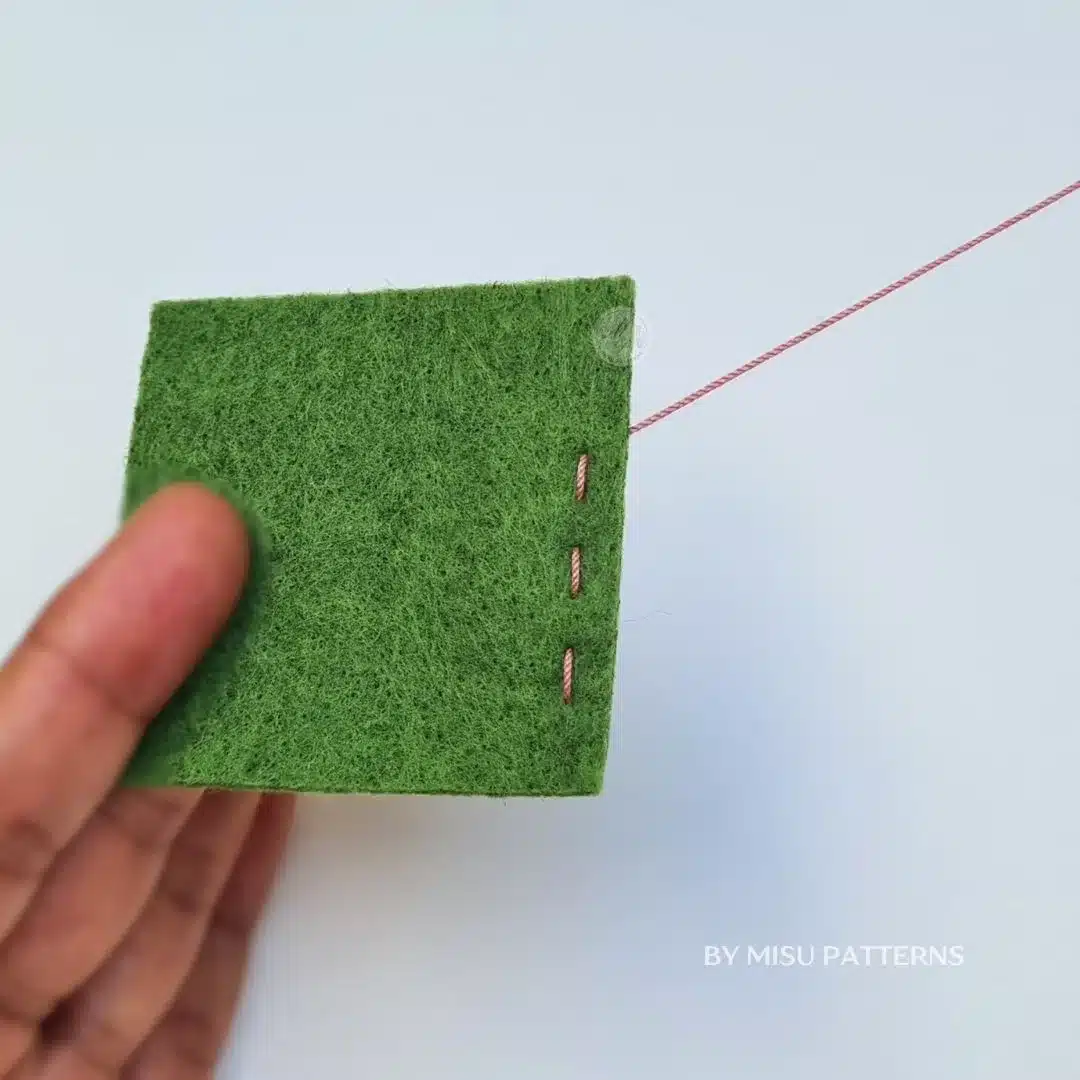
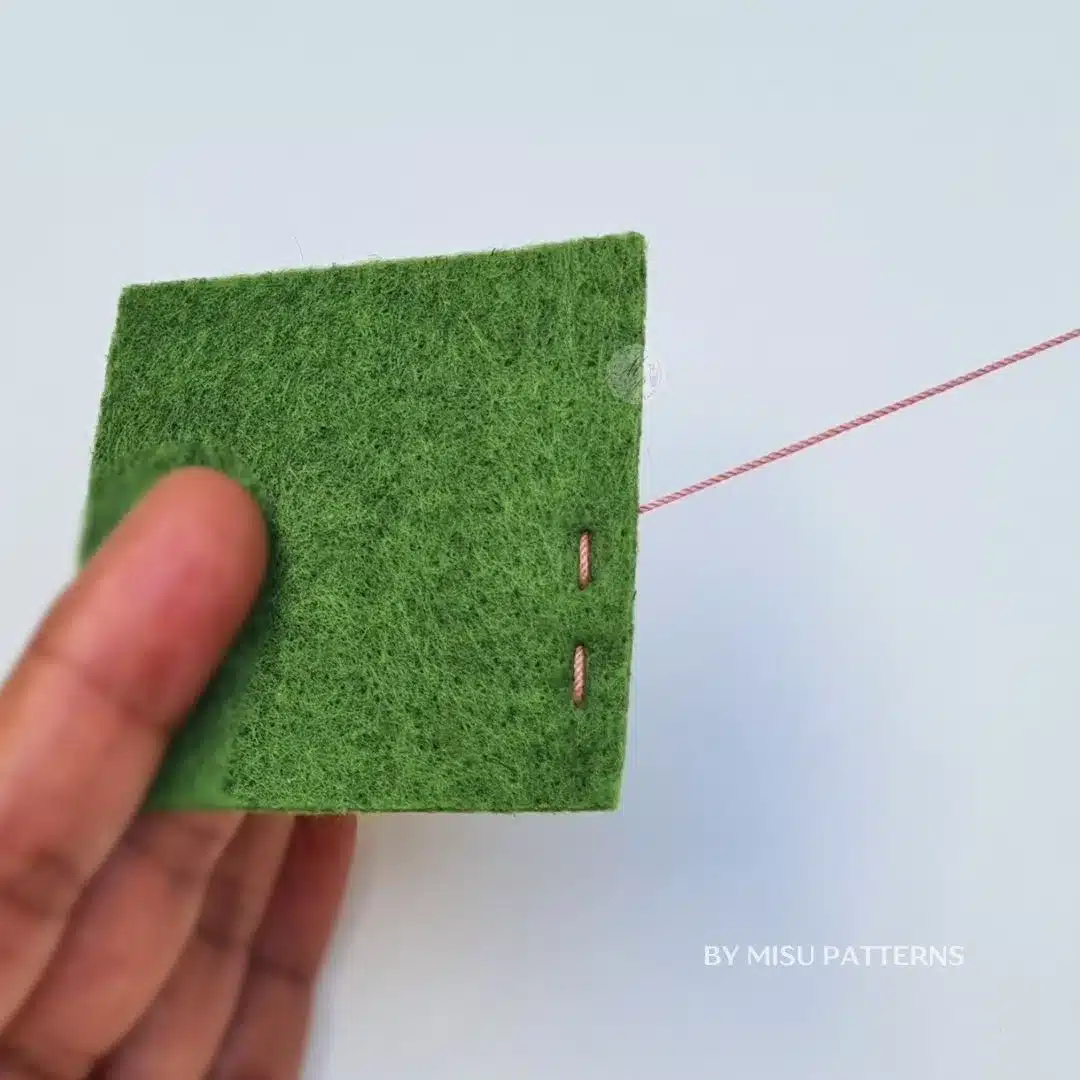
Final Result of the Running Stitch
As a result, you should now have a straight line of small, evenly spaced stitches, perfect for both functional sewing and decorative projects.