How to Transfer Patterns to Felt Effectively
Transferring patterns to felt might seem tricky at first, but with the right techniques, it can be simple, precise, and even fun! At Misu Designs, we want to help you make your DIY felt projects look clean and professional.
Here’s a step-by-step guide to transferring patterns to felt effectively:
1. Choose the Right Method
There are several ways to transfer a pattern, depending on your tools and the type of felt:
Tracing with a Pencil or Fabric Pen:
Lightly trace your pattern onto the felt using a pencil, chalk, or erasable fabric pen. Works best on light-colored felt.
Using Carbon Paper:
Place carbon or transfer paper between your pattern and the felt, then trace over the design. This leaves a clear line on darker felt.
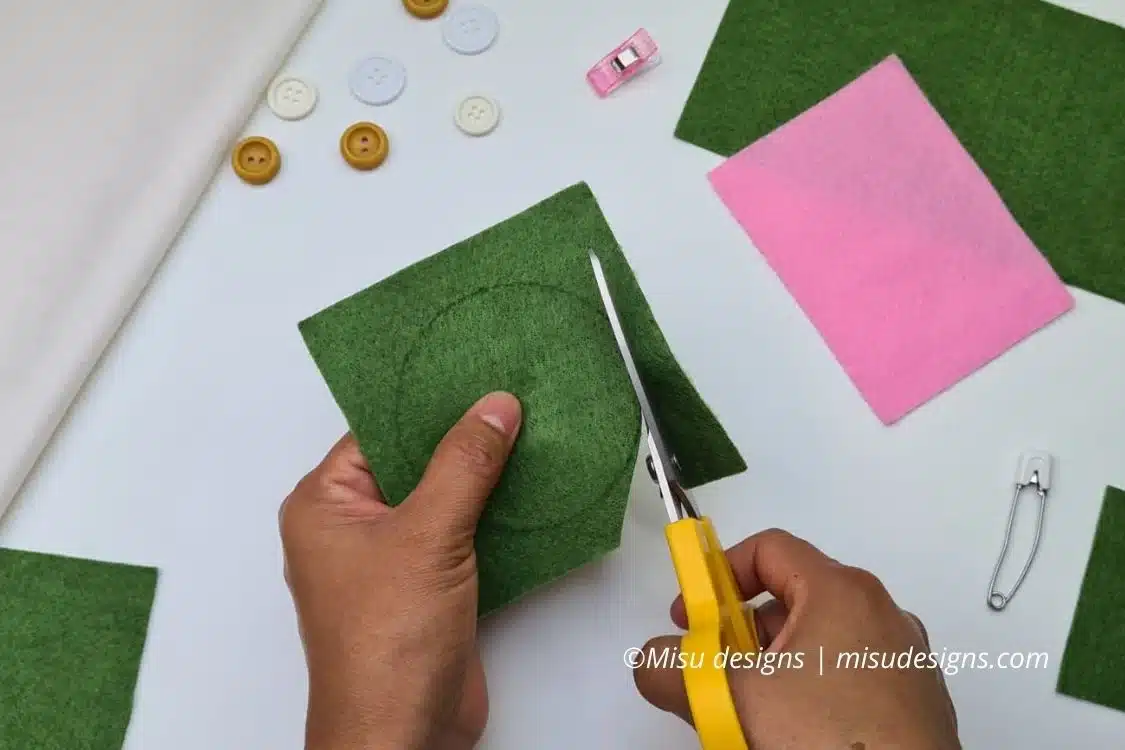
Template Method:
Cut your pattern out of paper or cardboard and pin it directly to the felt. Then, cut around it to get precise shapes.
2. Pin or Clip the Pattern
Secure your paper pattern onto the felt using pins or small clips. This prevents slipping and ensures that your shapes stay accurate while cutting.
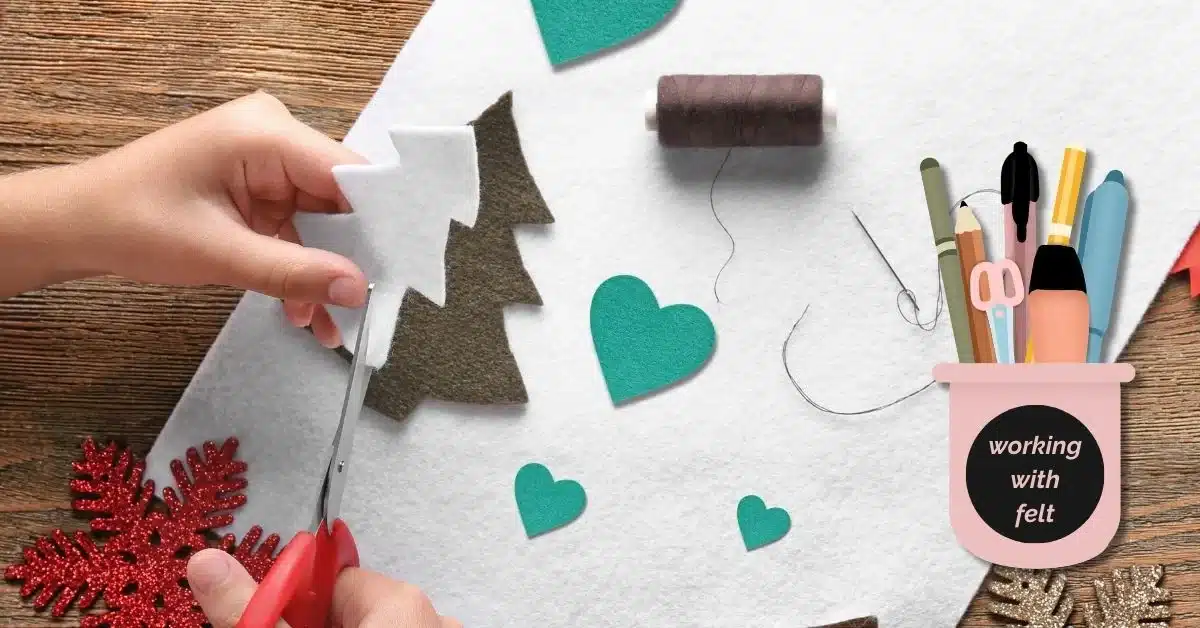
3. Cut Carefully
Use sharp scissors or a craft knife to follow the lines accurately. Take your time, neat cutting makes sewing and assembling your project much easier.
4. Test on Scrap Felt
If you’re unsure about a method, try it on a small piece of scrap felt first. This helps you see how the lines appear and if the method works well for your material.
Final Tip
Transferring patterns accurately makes your felt projects look polished and professional. Experiment with different methods and find the one that feels easiest for you, then enjoy creating your handmade ornaments with confidence!