Cutting felt might seem easy, but have you ever struggled with frayed edges or shapes that just don’t look right? Don’t worry, you’re not alone! In this step-by-step tutorial, we’ll show you how to cut felt like a pro, whether you’re making DIY crafts, ornaments, or sewing projects.
By the end, you’ll have the confidence to cut smooth, clean shapes every time and your felt projects will look polished and professional.
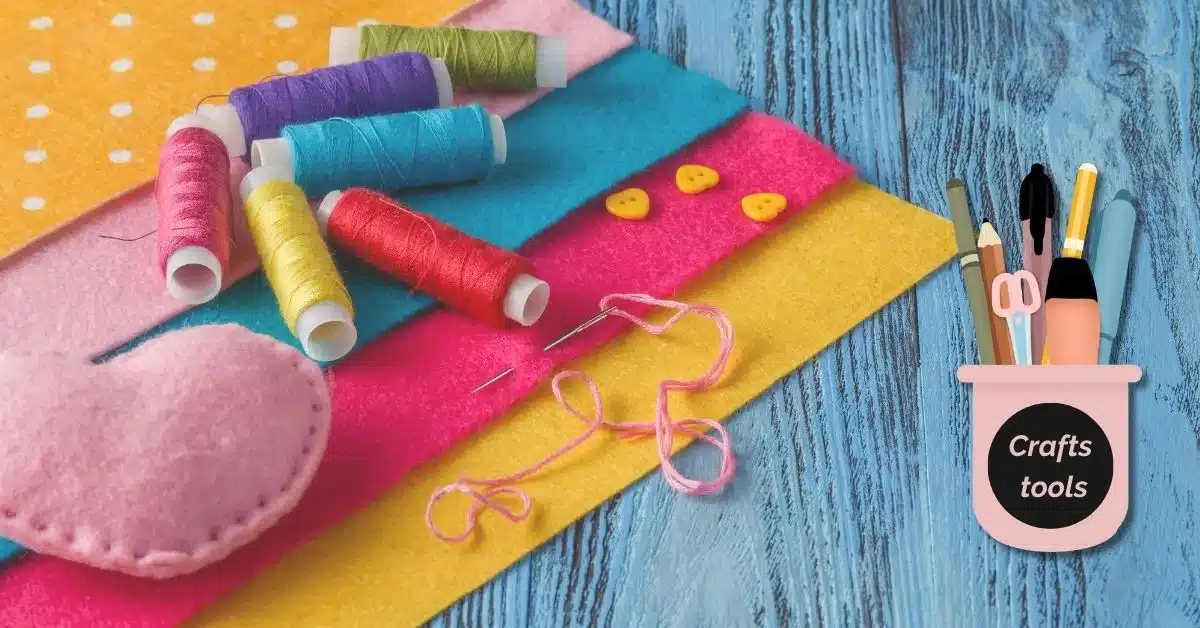
What You’ll Need to Cut Felt
Tools That Make Life Easier
- Sharp fabric scissors: your best friend for smooth cuts.
- Rotary cutter & cutting mat: perfect for straight lines or large sheets.
- Tiny detail scissors: for those small, tricky shapes.
- Patterns or stencils: trace consistent shapes.
- Fabric marker or chalk: to outline your designs.
- Pins or clips: keep multiple layers in place.
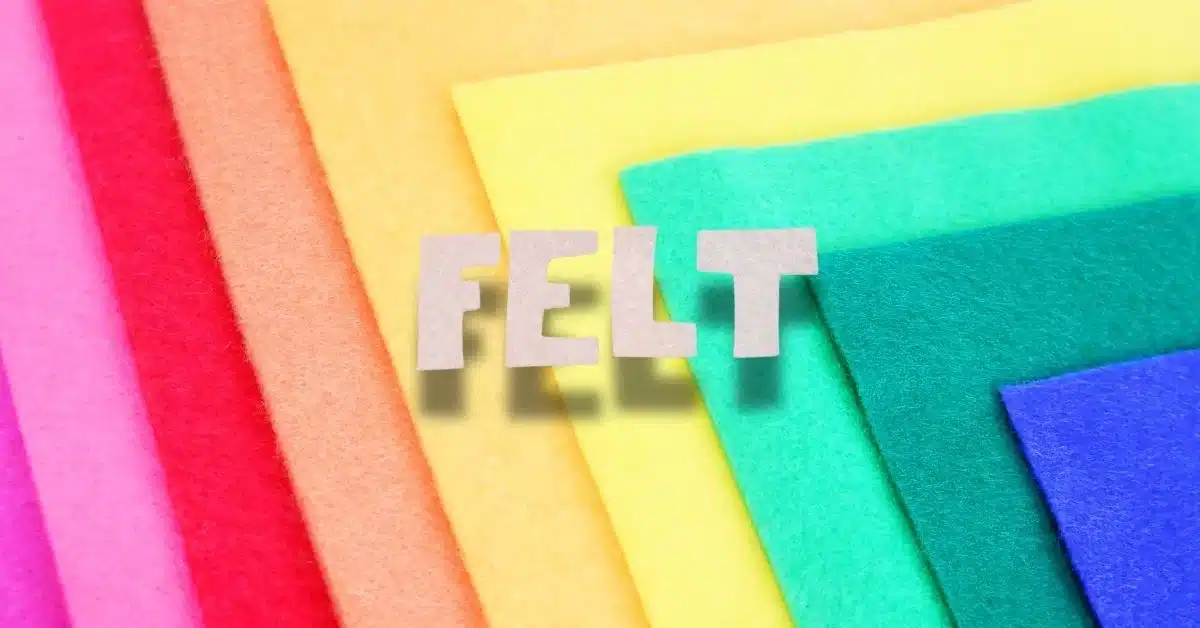
Choosing the Right Felt
- Wool felt: Soft, durable, and cuts cleanly.
- Acrylic felt: Budget-friendly and widely available.
- Blended felt: Mix of wool and synthetic fibers, good balance of softness and strength.
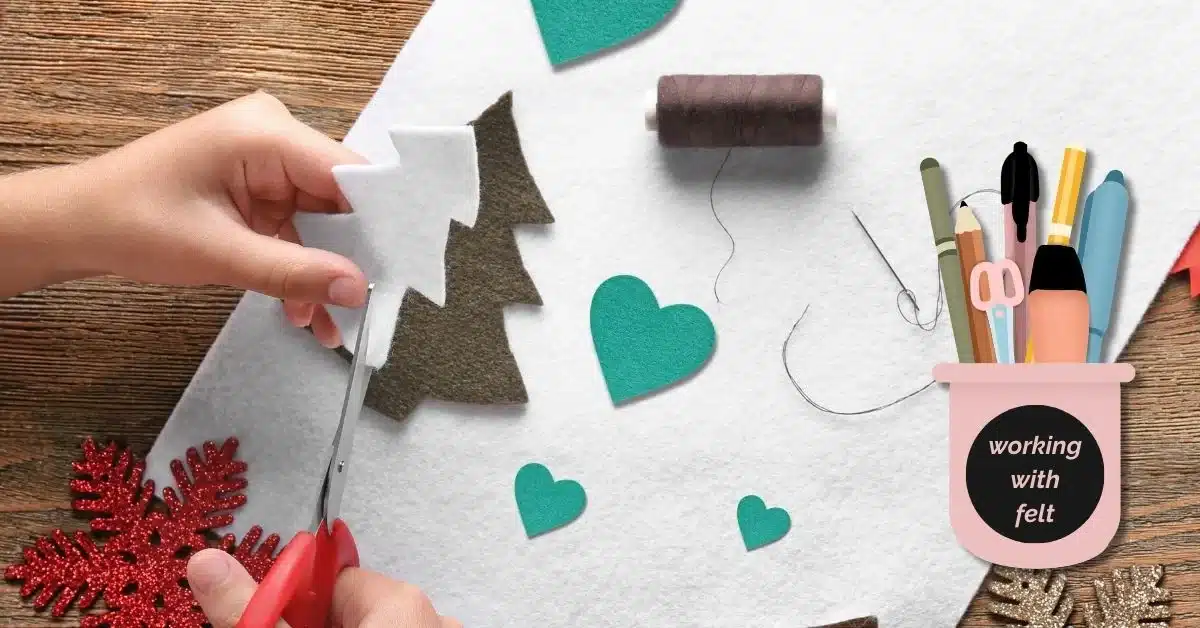
Step by Step: How to Cut Felt
Step 1 – Set Up Your Workspace
Pick a flat, clean surface with good lighting. If using a rotary cutter, grab a self-healing cutting mat to protect your table.
Step 2 – Trace Your Shape
Place your stencil or pattern on the felt and trace lightly with a washable fabric pen or chalk. Avoid permanent markers—they can leave stains!
Step 3 – Secure the Felt
If you’re cutting more than one layer, pin or clip them together so they don’t shift.
Step 4 – Cut Carefully
- With scissors: Use smooth, long strokes. Avoid choppy cutting.
- With a rotary cutter: Apply even pressure and use a ruler for straight edges.
Step 5 – Handle Tiny Details
Use your small detail scissors for curves, corners, or delicate designs. Tip: turn the felt, not your scissors, for smoother curves.
Step 6 – Clean Up the Edges
Trim any stray fibers with embroidery scissors. For wool felt, gently rub the edges with your fingers for a clean finish.
Pro Tips for Cutting Felt
- Keep scissors sharp dull blades create jagged edges.
- Never use paper scissors on fabric, they ruin your tools.
- Practice on scraps first, especially with tricky designs.
- Freeze felt before cutting some crafters do this to make it firmer and easier to cut.
- Consider die-cut machines for repeated shapes or larger projects.
Common Mistakes and How to Avoid Them
Uneven Edges
Fix: Take your time and use sharp tools.
Shapes Don’t Match
Fix: Pin layers tightly or cut one layer at a time.
Marker Shows on Project
Fix: Use Frixion Pens or trace on the back side of the felt.
Fun Things to Do with Your Cut Felt
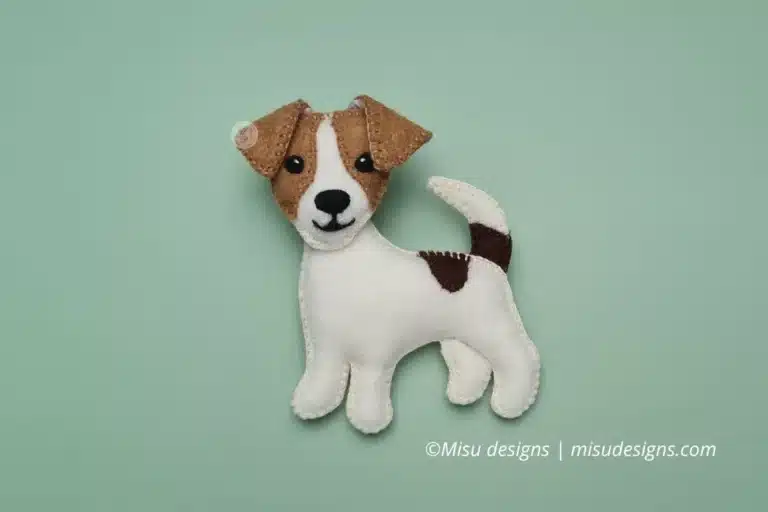
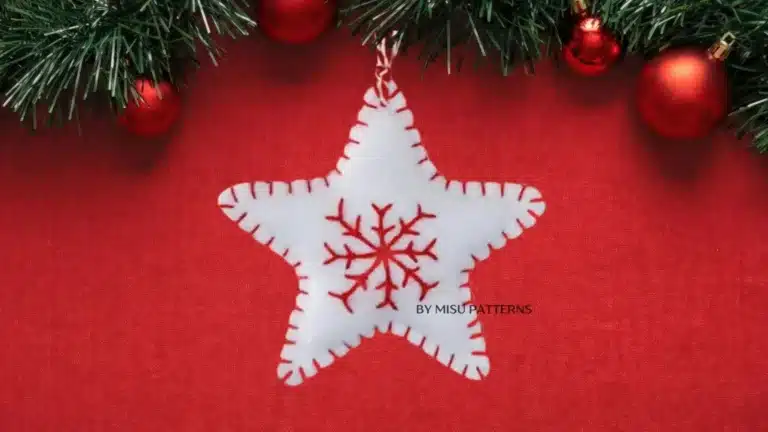
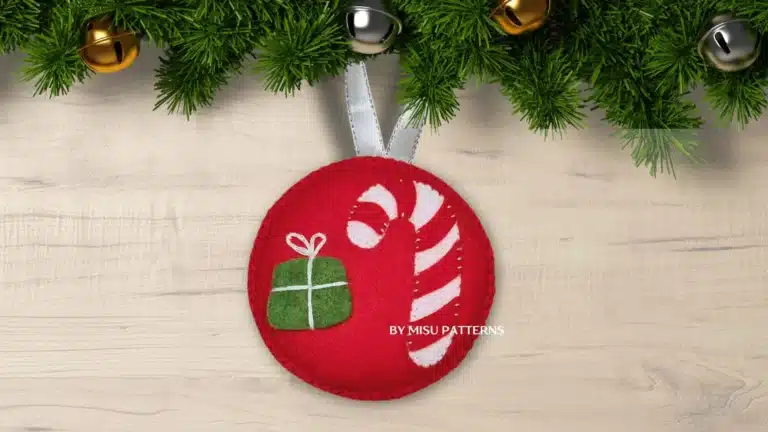
- DIY ornaments and garlands
- Felt flowers or appliqués
- Educational boards for kids
- Holiday decorations like stockings or tree décor
- Small sewing projects: hats, slippers, accessories
Final Thoughts
Cutting felt is easier than it looks once you know the tricks. With the right tools, a little patience, and our step-by-step guide, you’ll get smooth, precise cuts every time.
So grab your felt, scissors, and patterns, and start creating! ✂️ Your crafts, decorations, and DIY projects will look better than ever.